I like to consider myself crafty, especially when it comes to DIY Disney ornaments. I’m decent with a hot glue gun, love to find inspiration in our local craft stores, and am always on the hunt for simple (and affordable!) holiday make-it-yourself gifts. On a recent visit to Walt Disney World, the fam and I hit Disney Springs for a morning of shopping and popped into Disney’s Days of Christmas where it’s always a jolly holiday.
We checked out the Mickey head ornaments – and then looked at the price. Yikes! Knowing I could make them for 10% of the price, my daughter and I set off on a department store adventure, purchased inexpensive plastic ornaments of all sizes (the ears have to be just right!), and got to work. Here’s an easy tutorial for my Mickey Mouse ornaments.
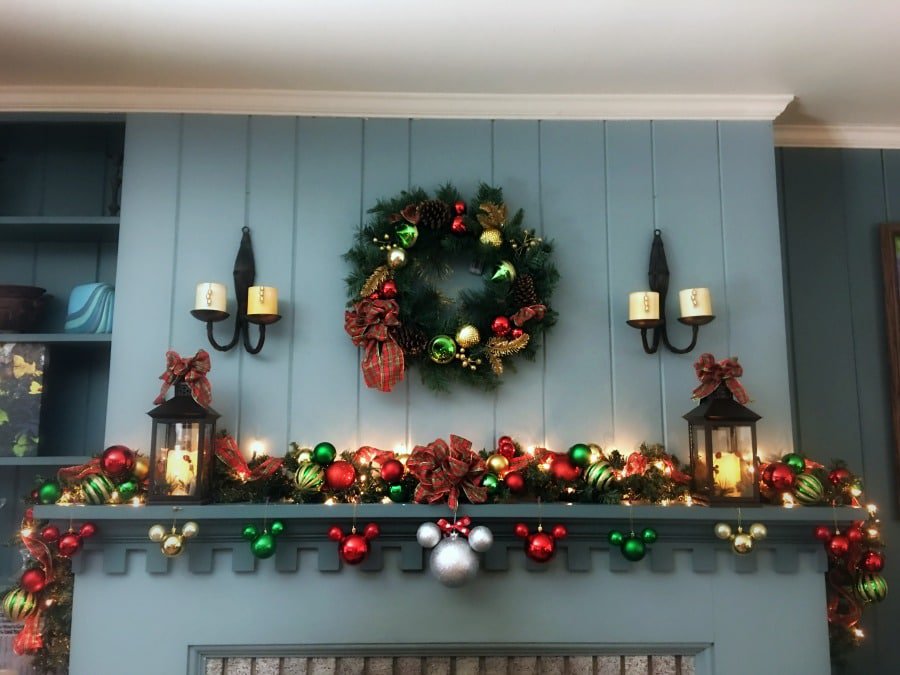
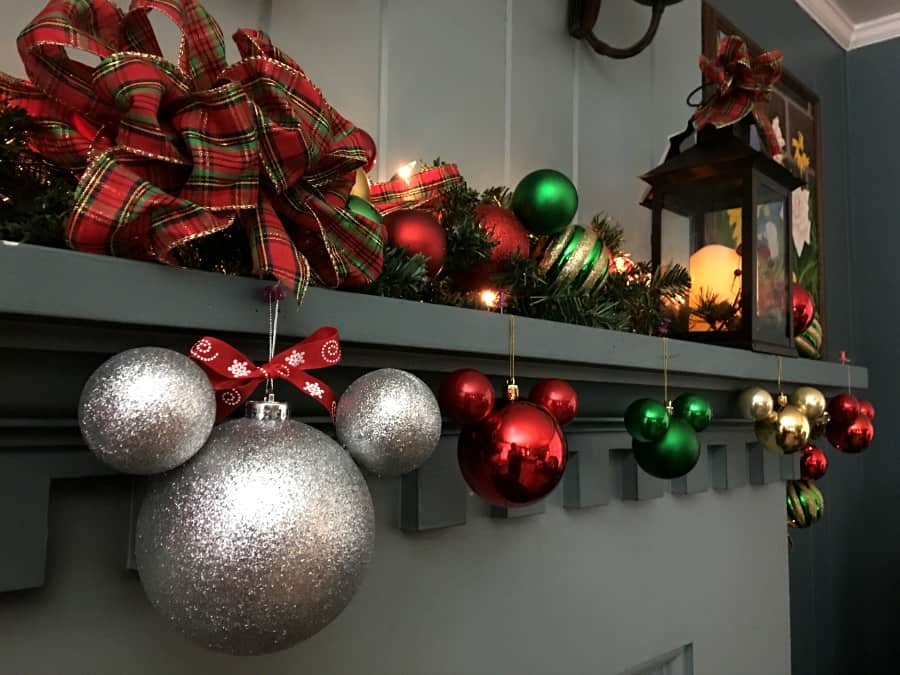
What we ended up with I’m happy to share with you as the process is very simple and requires no gluing at all. From a DIY Mickey head ornament budgeting standpoint, the small Mickey head ornaments averaged about 30 cents a piece while the larger, silver glitter Mickey head ornament came in at about $1.50. Of course, the average cost depends on where you end up purchasing your ornaments, what type you pick, etc.
Speaking of inexpensive, Mickey Business has the best free things at Magic Kingdom. We love Disney World freebies!
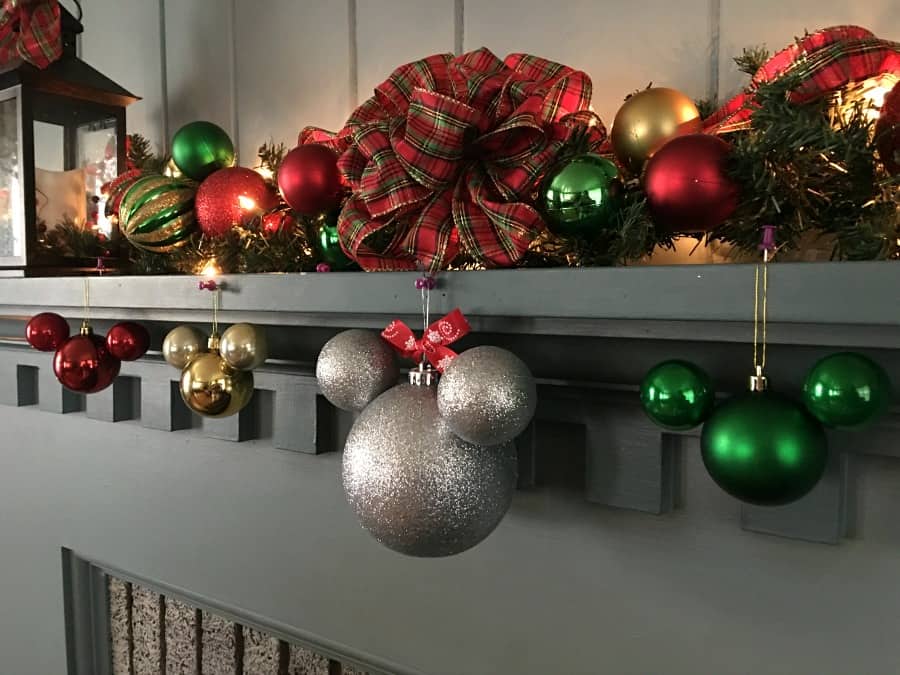
What You’ll Need for DIY Disney Ornaments
- Inexpensive round, plastic ornaments for the head and ears. We found ours at both Walmart and the Dollar Store.
- A Cordless drill with several sizes of drill bits
- Optional: Ribbon, glitter tape, and a hole punch
You may need a pair of pliers to pop off the ornament tops from the smaller ornaments that are going to be the round ears (again, depending on the brand of ornament you pick), but I had no problem just using light pressure to pop them off.
Directions for DIY Disney Ornaments
Step One
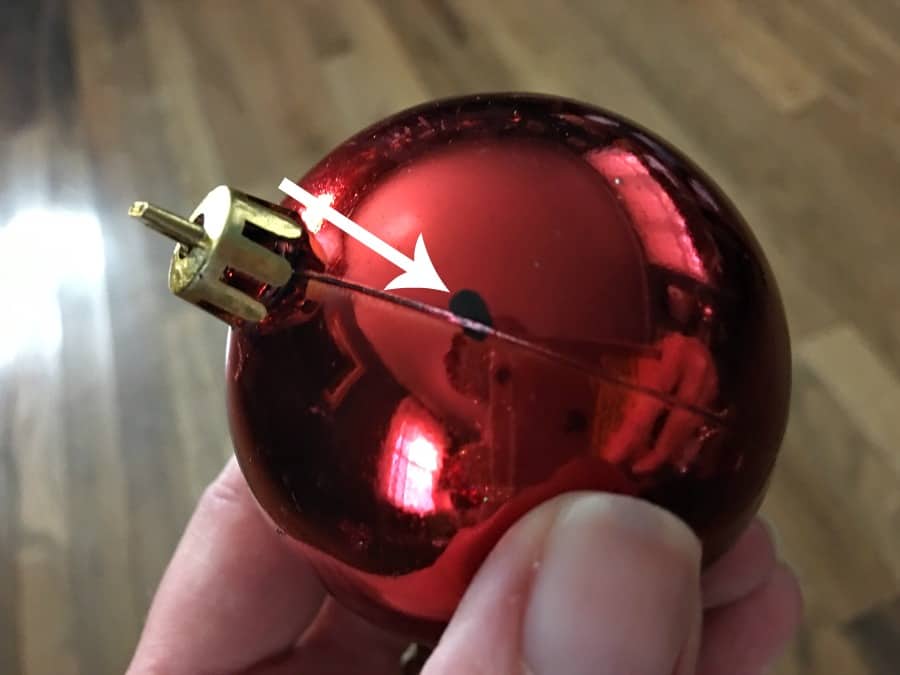
First use the ornament seam as a guide. Line up where the ears will be and draw a mark using a sharpie. I eyeballed it, but if you like you can measure exactly to be certain the ears line up perfectly.
Step Two
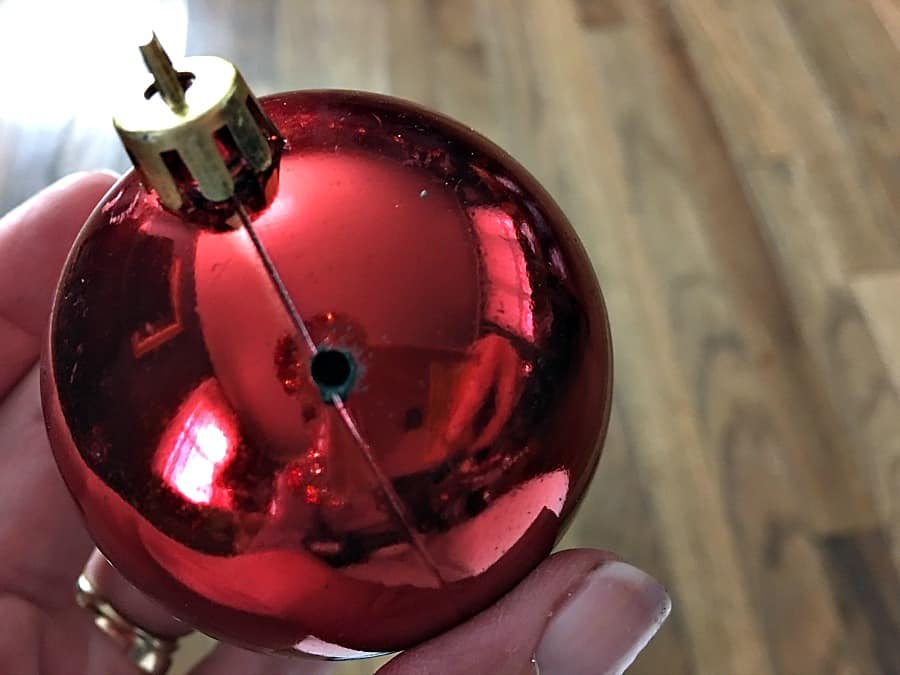
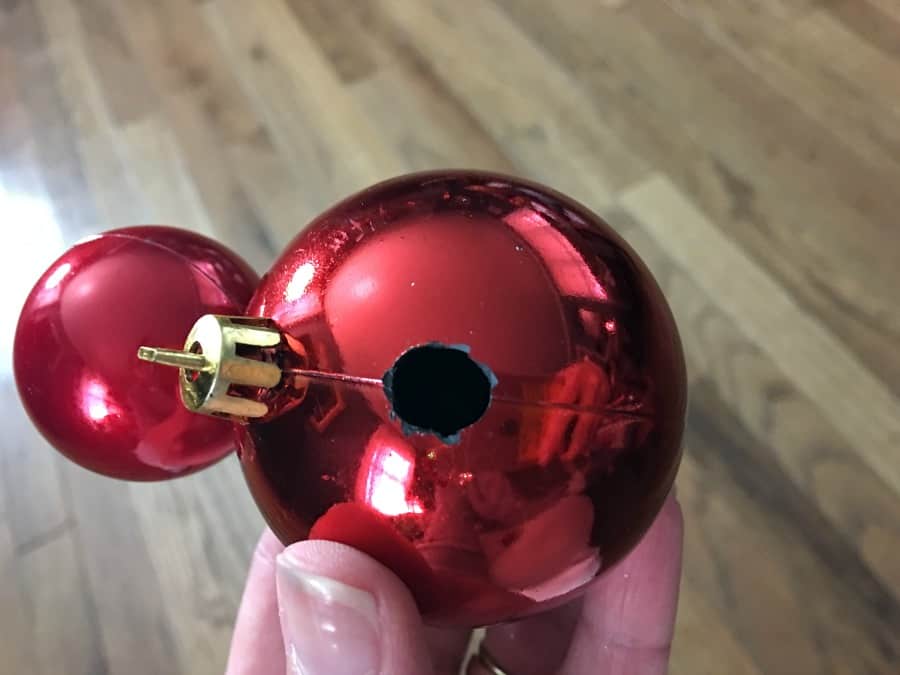
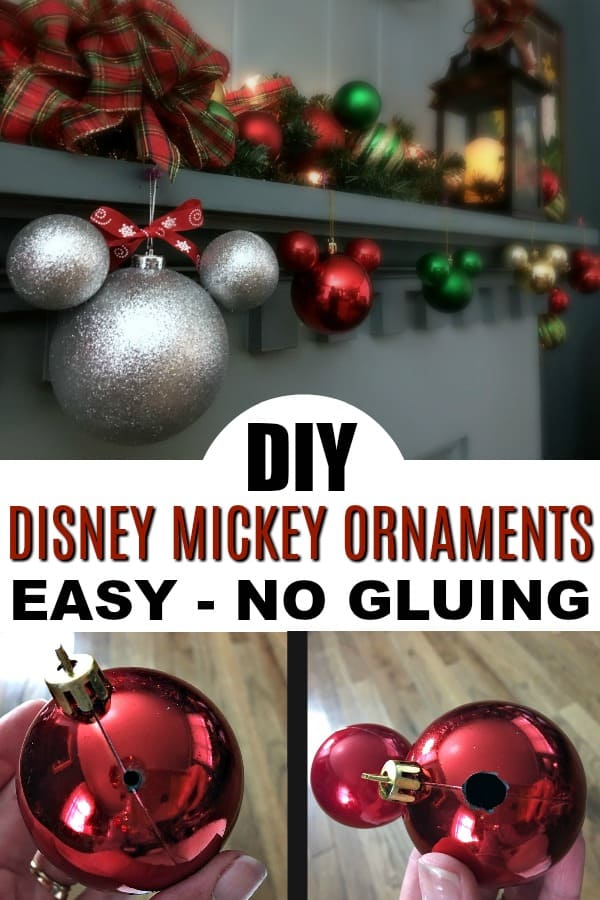
Using a small drill bit (I started with 1/16″), make a pilot hole where the two marks are.
Steps Three, Four, & Five
I gradually increased the drill bit size until I got to 5/16″ in size – and just a teeny bit too small for the ear ornament ends. So I did what any old-school gal would do and used the drill bit to bore a slightly larger hole.
Pop off the ornament holder ends from the two smaller ornaments and keep testing the holes. Remember, less is definitely more in regards to making the holes larger. Once the holes are a smidgen larger than the ear ornaments, you should be able to pop them right in.
Step Six
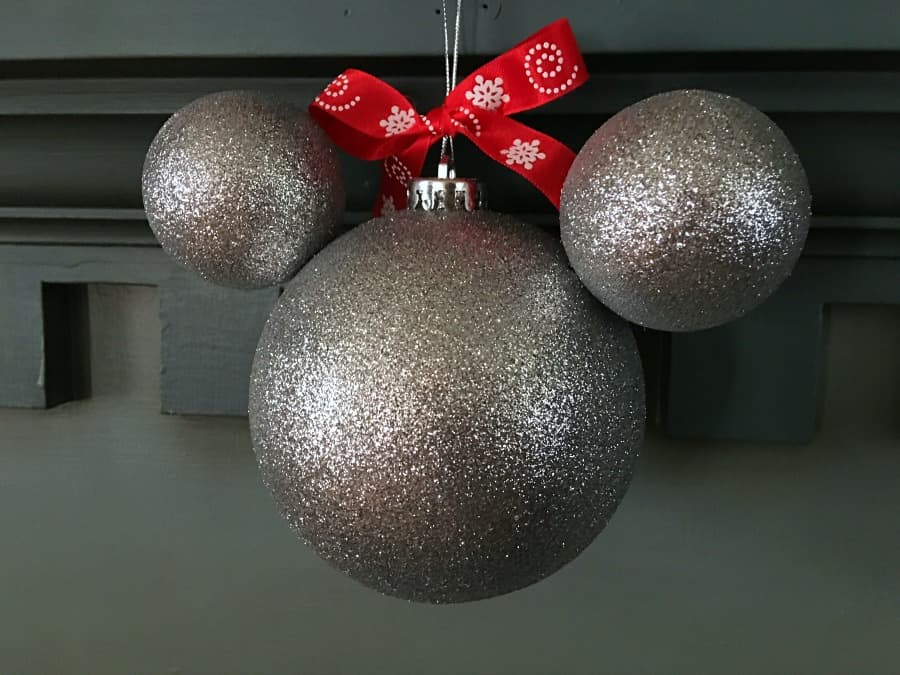
Decorate as you wish or leave plain and simple. To mix things up, I added a simple bow to the larger Mickey ornament and left it at that.
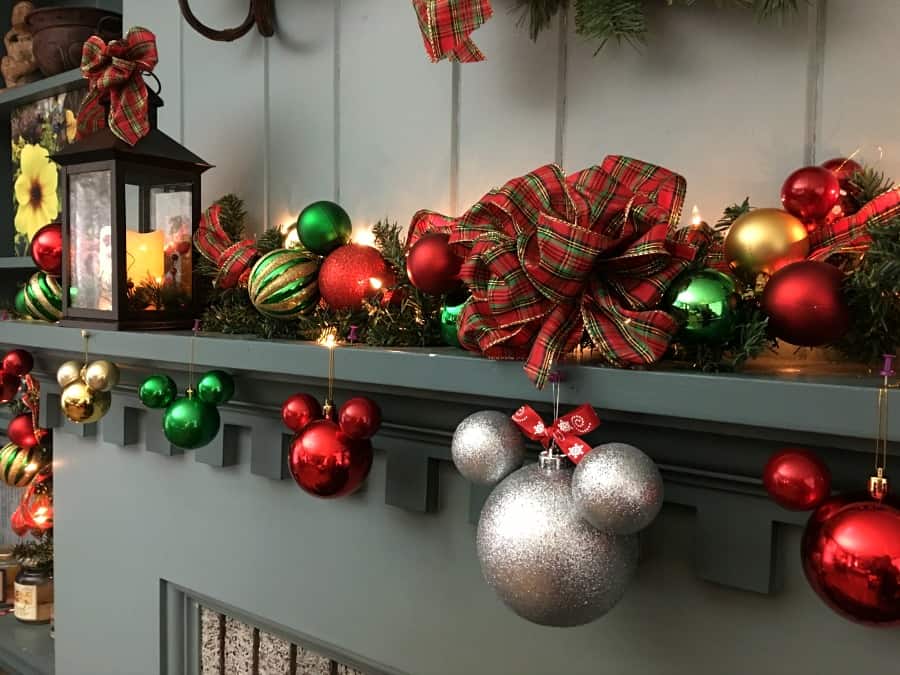
It was super easy to embellish the red Mickey ornaments with some glitter tape from the Dollar Store and a hole punch to punch out silver polka dots.
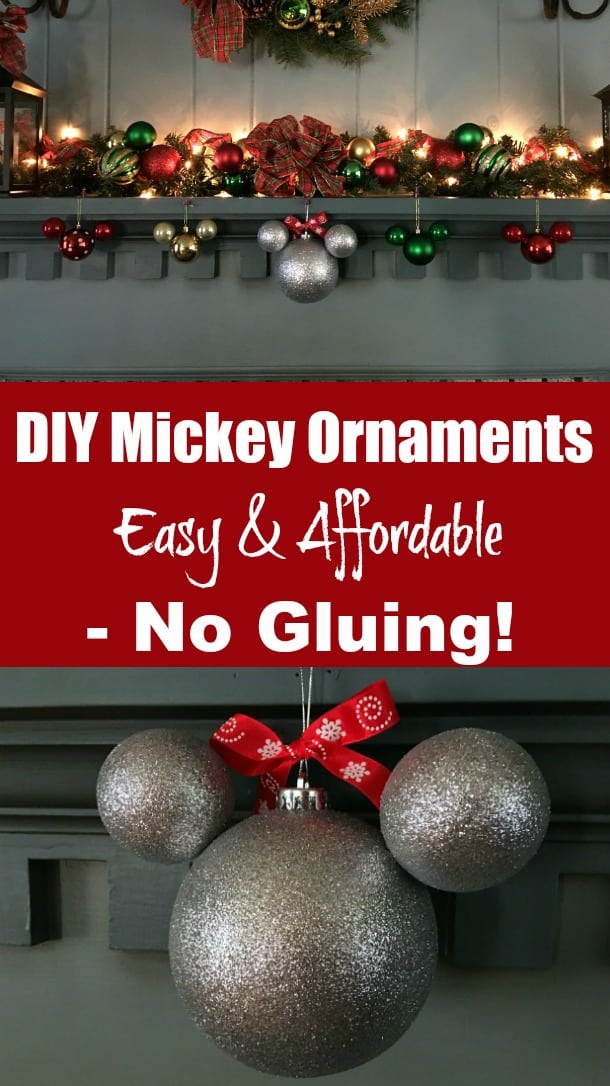
I plan on making several more for our Christmas tree, adding to the fireplace mantle, and to decorate cookie gift baskets. They’re a great family craft (kiddos can make the bows, add on decorations) and they make adorable gifts.
Are you planning on making your own DIY Disney ornaments this year? Please let me know in the comment section how they turned out!
More Disney Decor DIYs
https://www.sandandorsnow.com/2018/12/diy-disney-christmas-wreath-hidden-mickey-tutorial/
https://www.sandandorsnow.com/2019/10/diy-disney-halloween-ornaments-mickey-jack-o-lantern/
https://www.sandandorsnow.com/2019/02/diy-disney-minnie-easter-wreath/

Leave a Reply