If there’s a way to add sparkle and glitter to something, I’m doing it. If there’s a fast and easy way: even better. And while MagicBands are cute, they’re not CUTE. In fact, the standard issue ones are super plain to me. So, I came up with an inexpensive solution: add some sparkle myself! Happily, I found a cute and inexpensive option that’s super easy, too. That’s the trinity of bling, right there. Here’s the scoop on creating Disney Magic Band bling, where to find supplies, and what it cost.
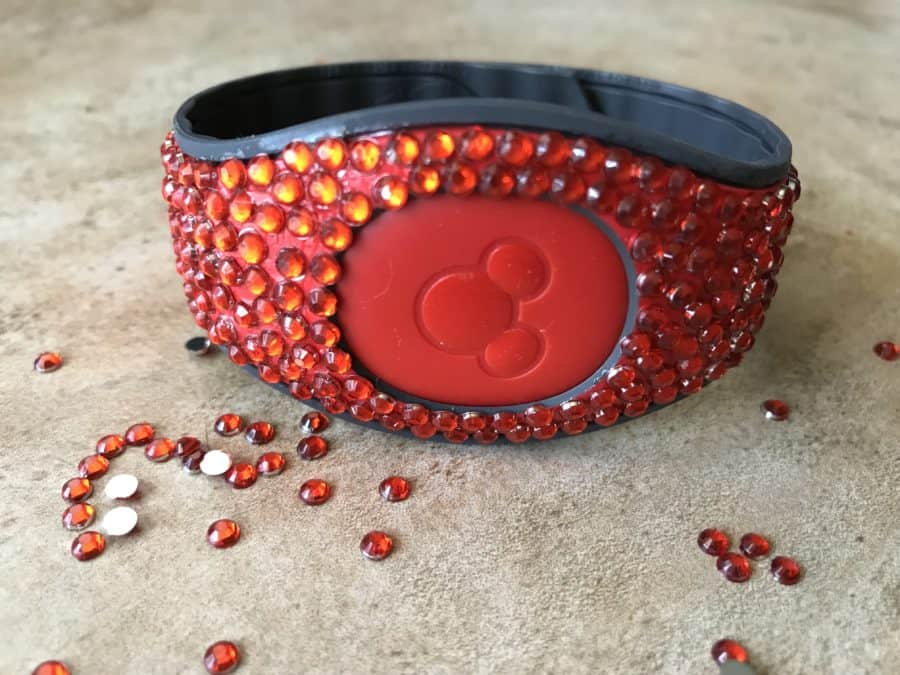
There are plenty of ways to decorate & customize Magic Bands. In the past, I’ve used nail polish, markers, glitter glue, and stickers. But I wanted something seriously sparkly for my upcoming visit to Walt Disney World. So, I started looking at prices to have someone customize one for me. I soon realized that I could make one myself for far less. Challenge accepted for my own DIY Magic Band decoration!
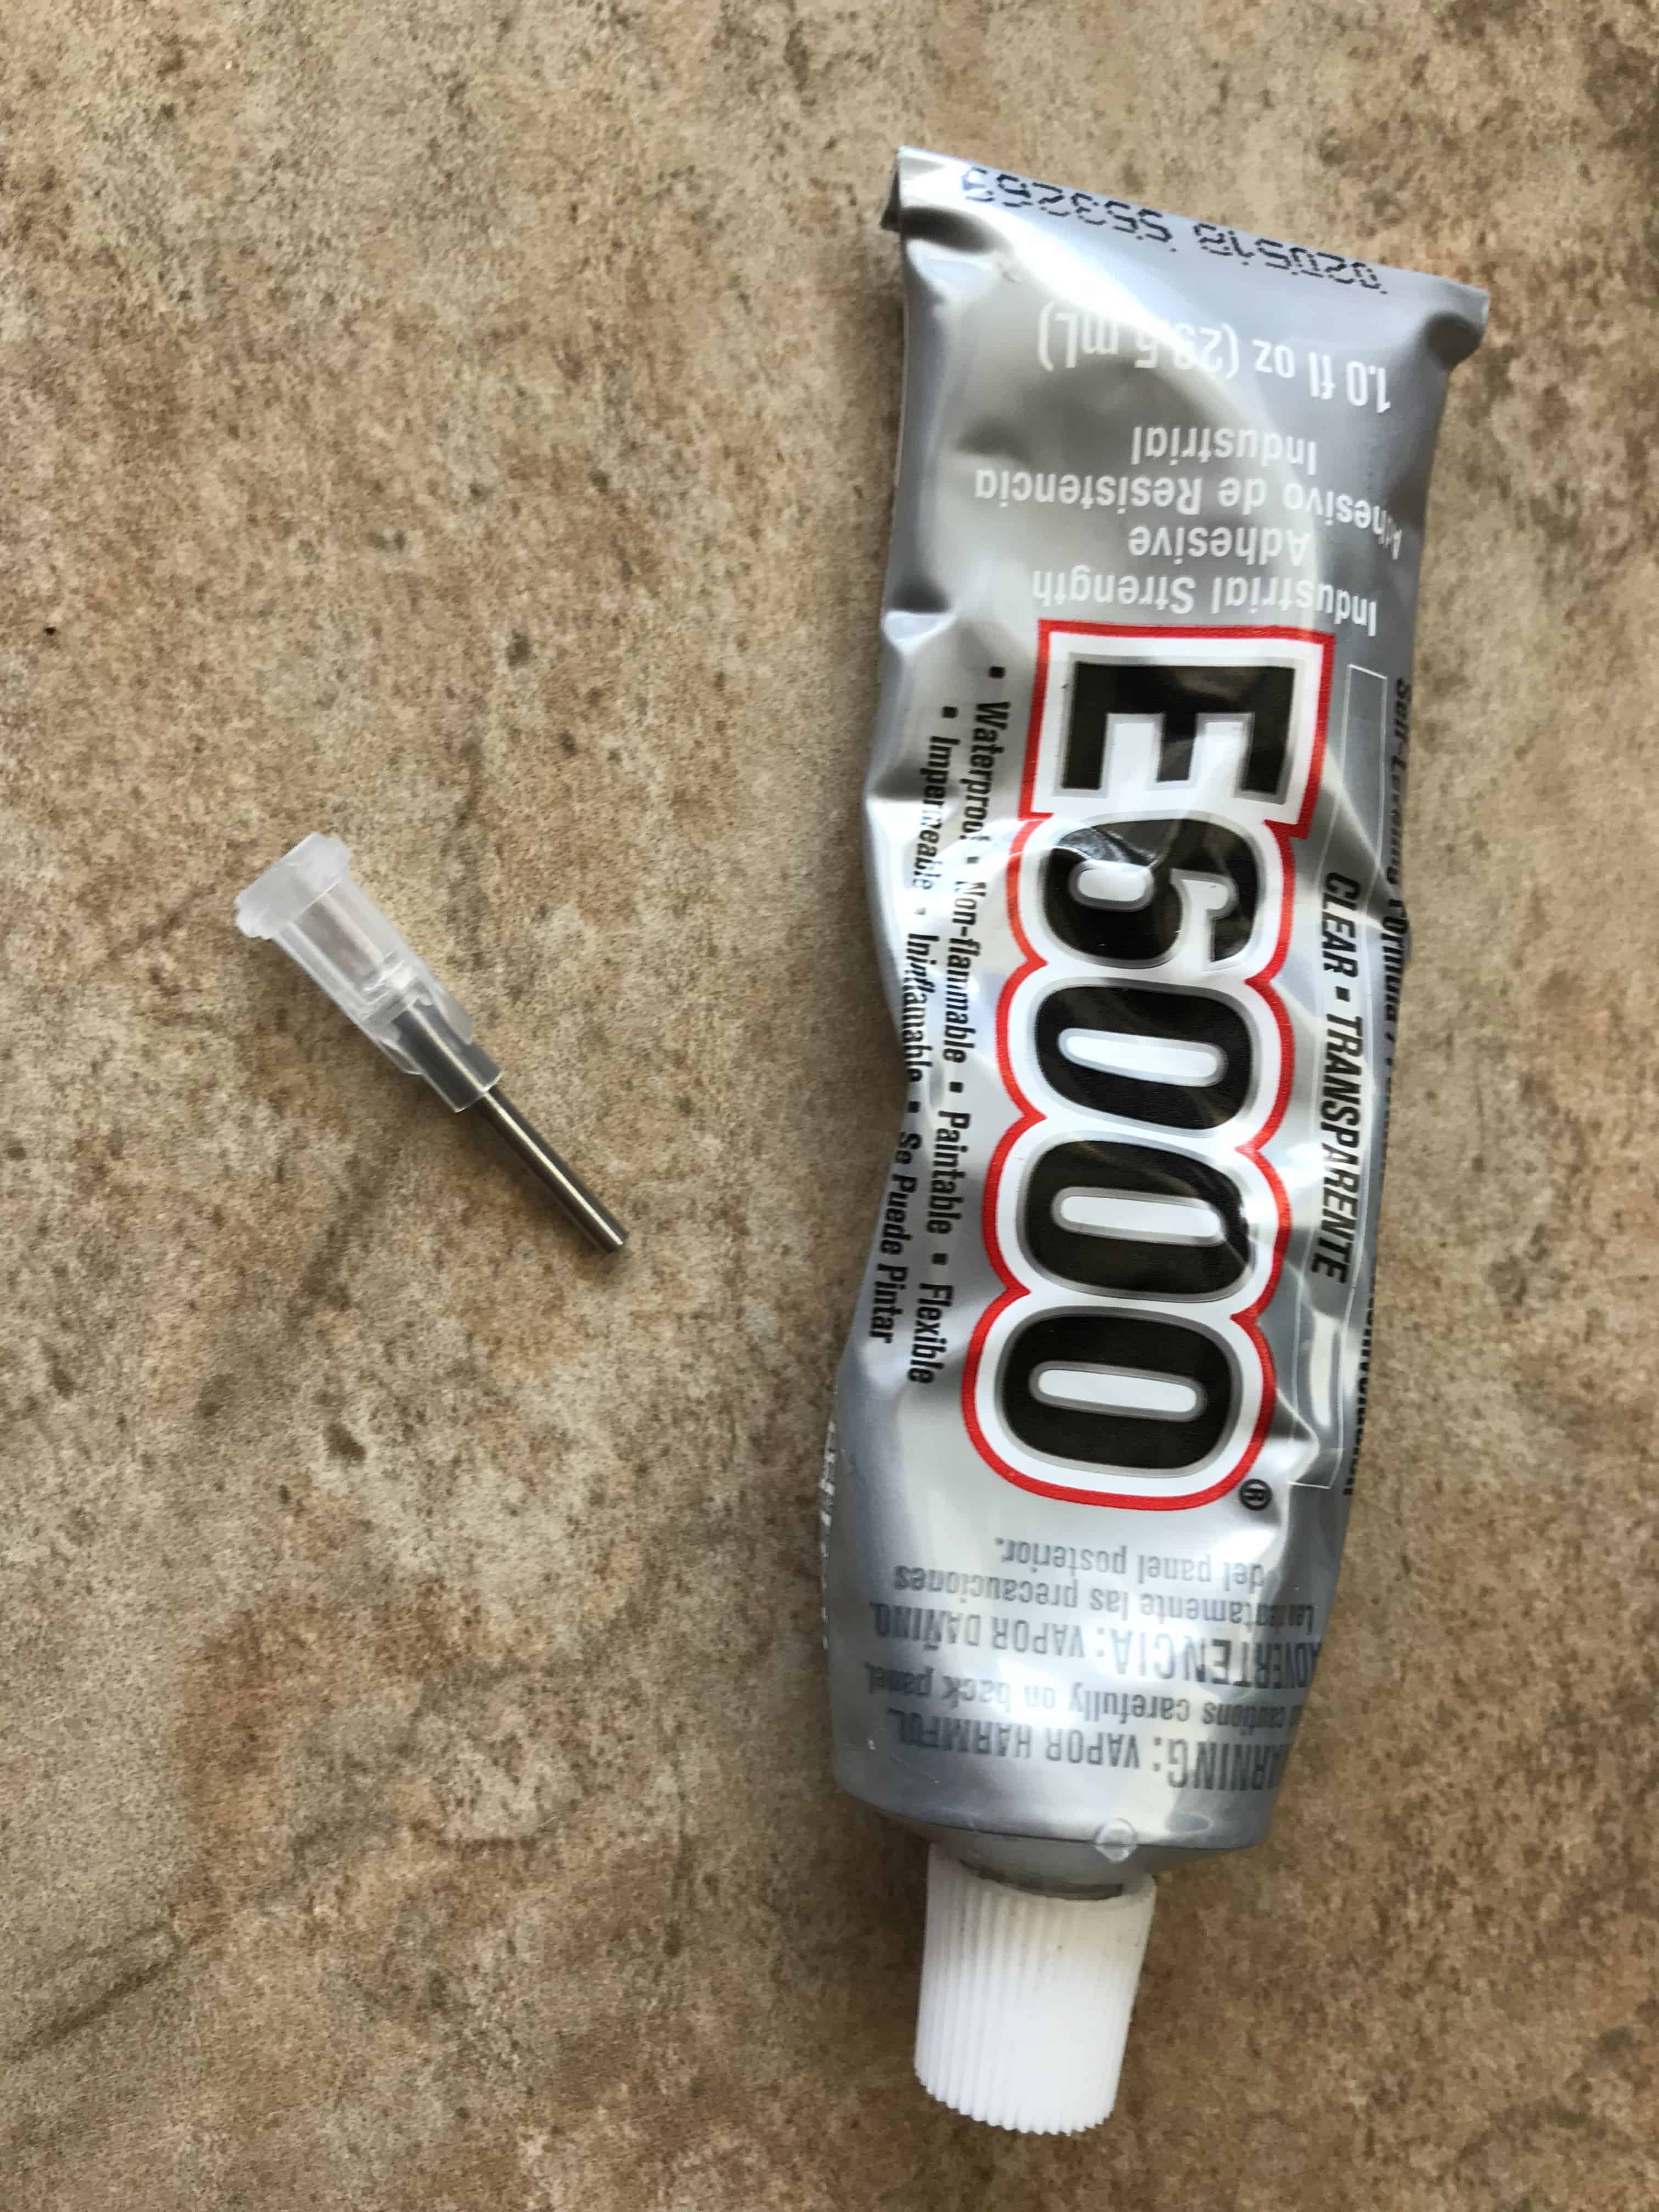
Disney Magic Band Bling: What You Need
The list is very simple and can be found in two stores:
- E6000 Glue – Found this at WalMart. Make sure it’s the tube with different attachments.
- Two packages of 3mm rhinestones/crystals. Make sure they have flat backs. Found these at JoAnn Fabrics.
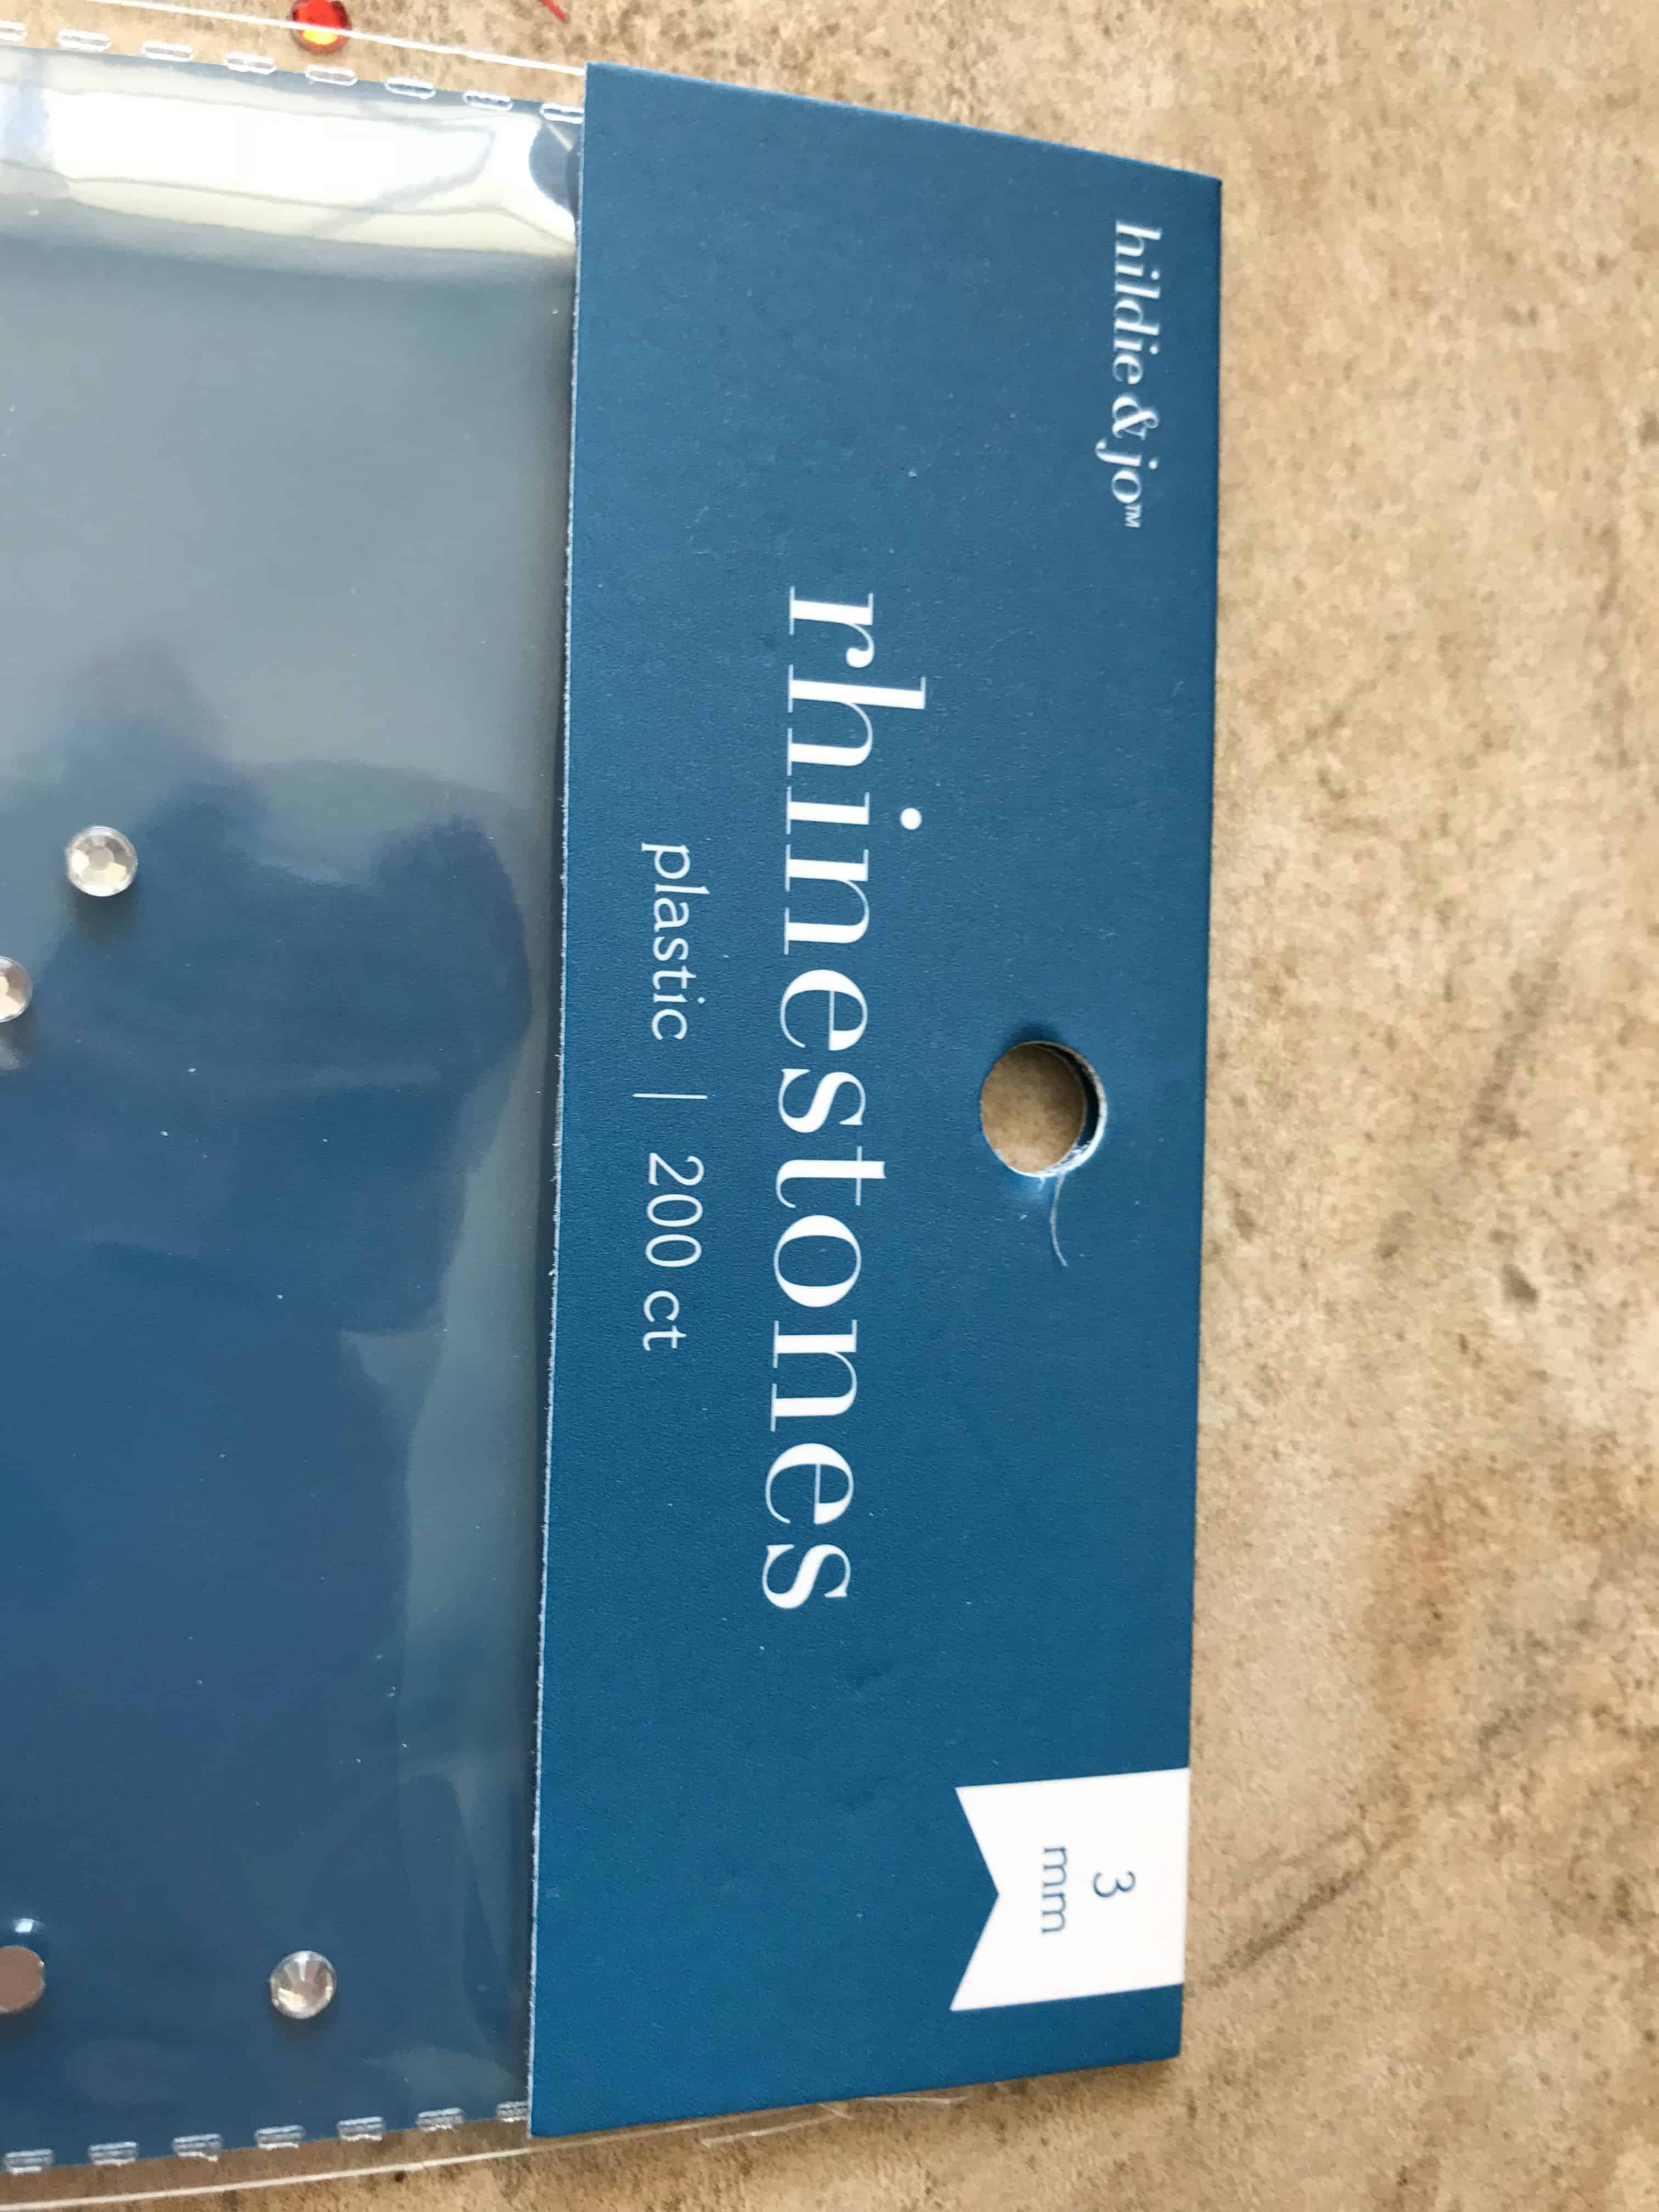
You’ll also need a pair of tweezers you don’t mind getting glue on and a small table cover (I used a piece of cardboard). For the rhinestones, grab a small, flat plate, too.
Preparing for the Magic Band Bling
Add both packages of rhinestones/crystals and add them to a small plate. Don’t worry about them being right side up/upside down. They’re so small, the second you start grabbing them with tweezers they’ll get mixed up anyway.
Next, try on your Magic Band to see what hole you close it on. Make a little mark and don’t go below it. If you do, band will not close properly.
Then, add the silver tub attachment to your glue tube. Make sure the glue is flowing properly. Add a bead of glue in small sections – it dries pretty quickly.
I alternated between sides to allow time for the glue to dry. Total time to decorate: 90 minutes.
Adding the Stones to Your Magic Band
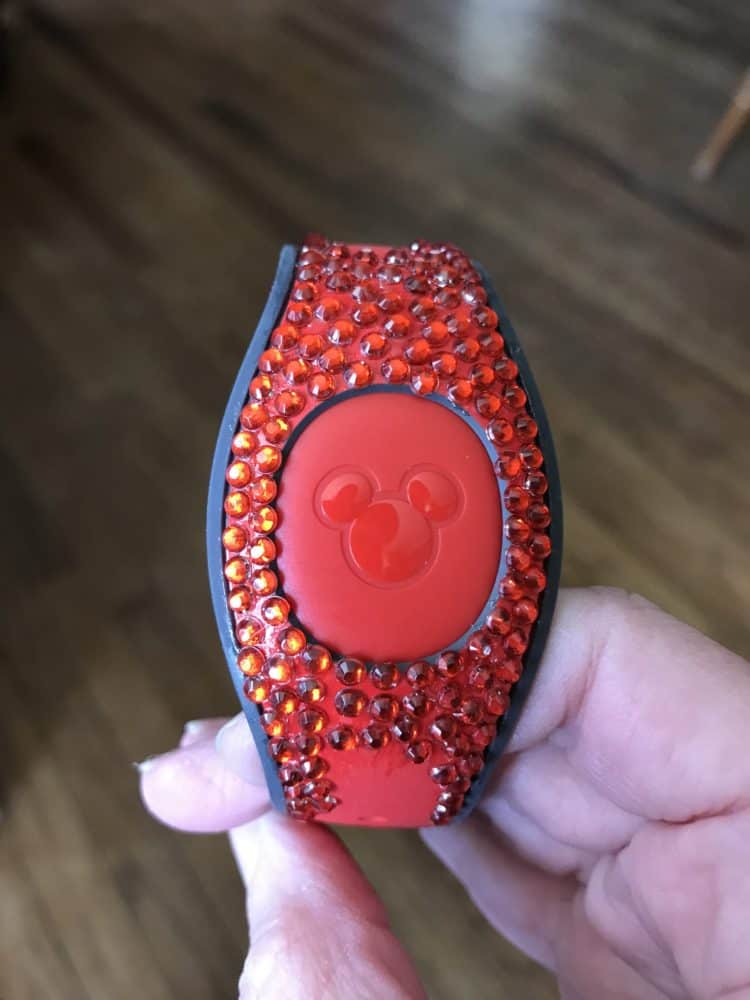
I started working around the center and down the sides of my MagicBand first. Work in very small sections and place one stone at a time. I liked using tweezers to grab and place the stones. If you don’t have a pair, wet the end of a toothpick and slightly press on a stone. It will stick for a second so you can place it.
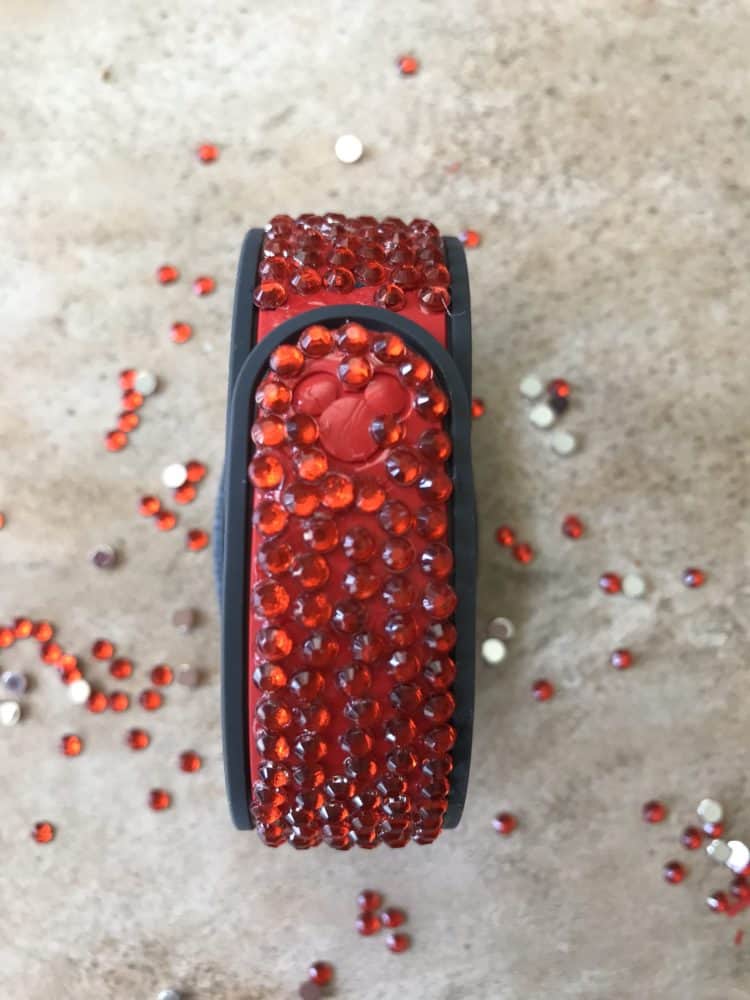
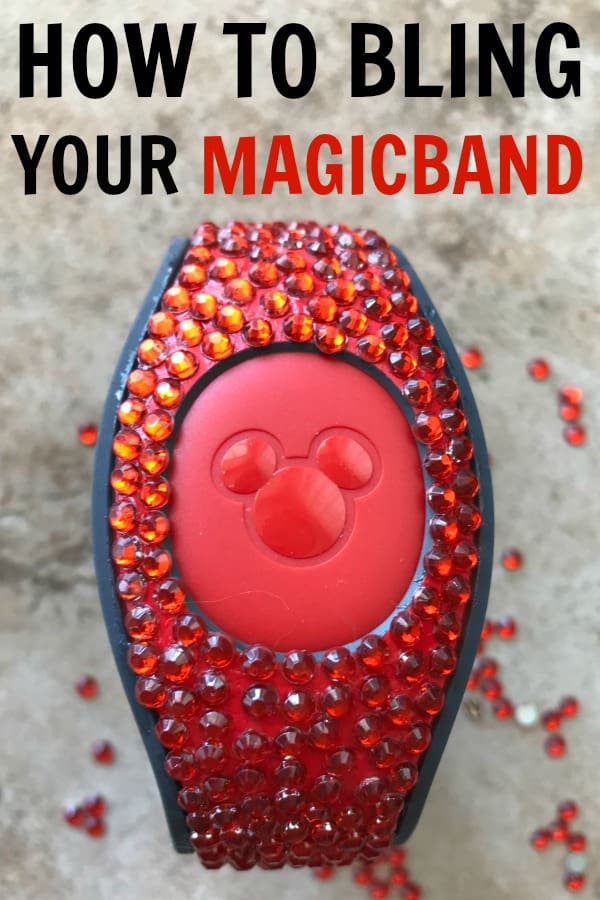
Once I got going, it was super simple. I blinged out the area around the center (I left it empty for a reason. Read below.), then the sides. I filled in the middle last. I was more concerned with clean lines versus the fill-in because it’s a red band with red rhinestones. Plenty of room for error.
Total Cost for a Blinged Out Magic Band
Under $10:
E6000 Glue – $5
Two packages of rhinestones – $4.50
I have to add that I used one entire package of stones and part of a second. If you’re planning on blinging out two bands, I’d go with three packages total.

Why Not Cover the Entire Band?
The main reason I didn’t cover the entire band in stones, especially the center puck, is because the Mickey head needs to touch the MagicBand scanner. If there are stones, it may not work properly. Of course, it may but I didn’t want to take the chance.
I also left the small Mickey head on the band itself plain to make it easier to snap the small teeth into the holes.
Heading to Disney World? Here Are Some Posts to Help You Plan:
What to buy at the Dollar Store for a Disney vacation
Five things NOT to do with Disney Magicbands
Eight things not to pack for a Disney World Vacation
Disney World Magicbands: How and when to use them


Leave a Reply