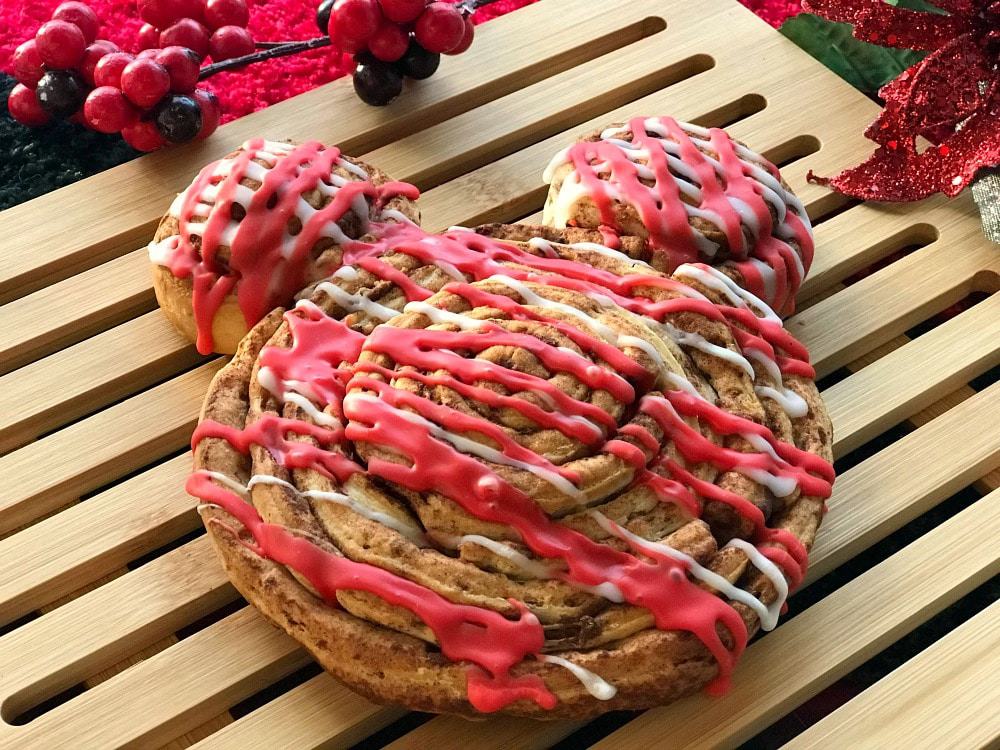
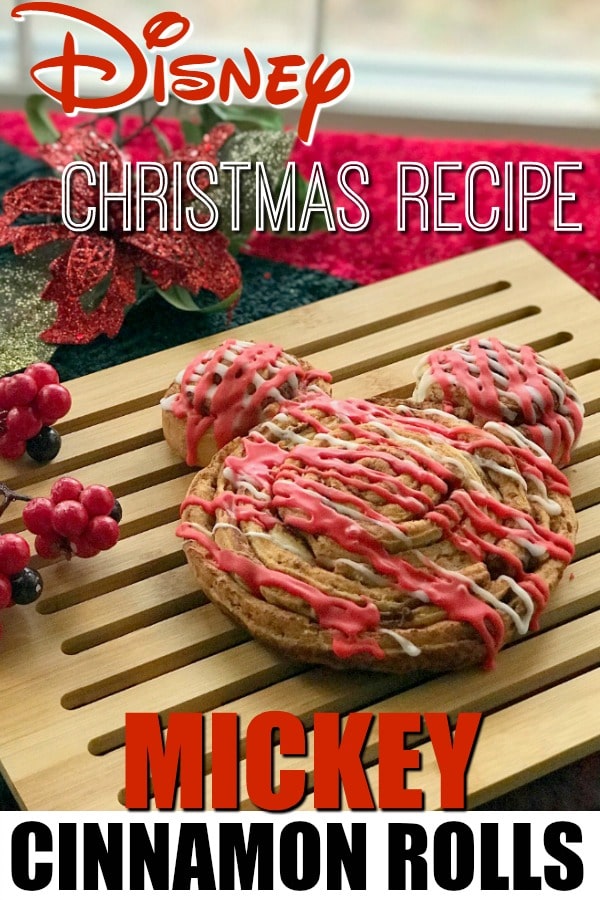
Love walking down Main Street USA in Magic Kingdom and smelling the massive cinnamon rolls at Starbucks? Or maybe you visited during Halloween and saw those cute, Mickey-shaped Cinnamon rolls? I’ve got a super easy tutorial on how to make Mickey Cinnamon Rolls that’s super affordable and uses only two ingredients!

When I’m a Walt Disney World and visiting Magic Kingdom (especially at rope drop), my family and I generally make a beeline for the cinnamon rolls. And, whether it’s at Starbucks or at Gaston’s Tavern, they’ve become a breakfast staple. Well, cinnamon rolls and Mickey-shaped cookies.
But this year during Halloween, I noticed that Starbucks was serving the cutest Mickey-shaped cinnamon rolls (different than its usual big, honkin’ square-shaped rolls) and, yes, I bought one. The Kid and I enjoyed every last bite, and then I thought, “Man, I can make these at home. For a fraction of the cost.” and since I love recreating Disney Christmas looks (check out this tutorial for Mickey Christmas ornaments), I was all about it.
And, so I did. There are only two ingredients that you need on hand plus a couple of kitchen items that you probably already have on hand. Here’s my super easy tutorial for Mickey Cinnamon Rolls that can be used for any holiday (these ones have a Christmas flair) or on a regular, old day to bring a little Disney into your home – and onto your table.
Mickey Cinnamon Rolls: Ingredients
Here’s what you’ll need to make Mickey Cinnamon Rolls:
- 1 12.4 ounce can of refrigerated cinnamon rolls with icing. Please make sure there are at least seven separate rolls in the package.
- Gel food coloring. I used Wilton’s Red, but feel free to cater to your family’s likes.
You’ll also need two small plastic sandwich bags, two small bowls, and a baking sheet.

Mickey Cinnamon Rolls: How to Assemble
The assembly for one large cinnamon roll is easy, so hang in there:
Separate all of the cinnamon rolls in the can. On the baking sheet, add one of the uncooked cinnamon rolls to the center and put two more aside for the ears. Put the icing aside for later.
Once the first uncooked roll is in the middle of the baking sheet, start unrolling three cinnamon rolls, wrapping each around the first one. Make sure the cinnamon side is in while you’re wrapping. You’ll have one left over that you can bake separately are add it for an even bigger roll. The proportions won’t be the same, though.
Add the two rolls to the large roll, spacing them to look like Mickey’s ears. Give each a little push into the large roll to adhere.
Bake at your cinnamon roll can’s directions – mine was 400 degrees F for a suggested 13-17 minutes. It took just about 16 minutes to get my Mickey cinnamon roll to look golden brown.
Mickey Cinnamon Rolls: Decorating
When there’s about three minutes left on the oven timer, take the enclosed white icing and separate into two bowls.
Here’s where your creativity comes into play. I left 1/2 white and added a small amount of red gel food coloring to the other bowl. If you want all red, don’t split the icing in half.
Using the two plastic sandwich bags, add the icing to them and push it down to a corner. Making sure most of the air is out of the bag, close it.
As soon as the Mickey cinnamon roll comes out of the oven, and one at a time, cut a teeny bit off the corner of the sandwich bag. Using long lines, squeeze the icing onto the roll. Switch colors whenever you like – and get creative!
Need More Disney Inspiration in Your Life?
https://www.sandandorsnow.com/2016/12/diy-mickey-ornaments-easy-affordable-no-gluing/
https://www.sandandorsnow.com/2015/12/decorate-with-mickey-mouse-this-holiday/
https://www.sandandorsnow.com/2017/04/not-to-do-with-disney-world-magicbands/

Leave a Reply