If you’re a Halloween lover, you won’t think it’s kooky that I start decorating for Halloween in early September. If you’re not a giant fan, you might be able to appreciate the admiration. With a need for more Disney-style Halloween decor, I whipped up these super cute DIY Disney Halloween ornaments with very little effort or materials.
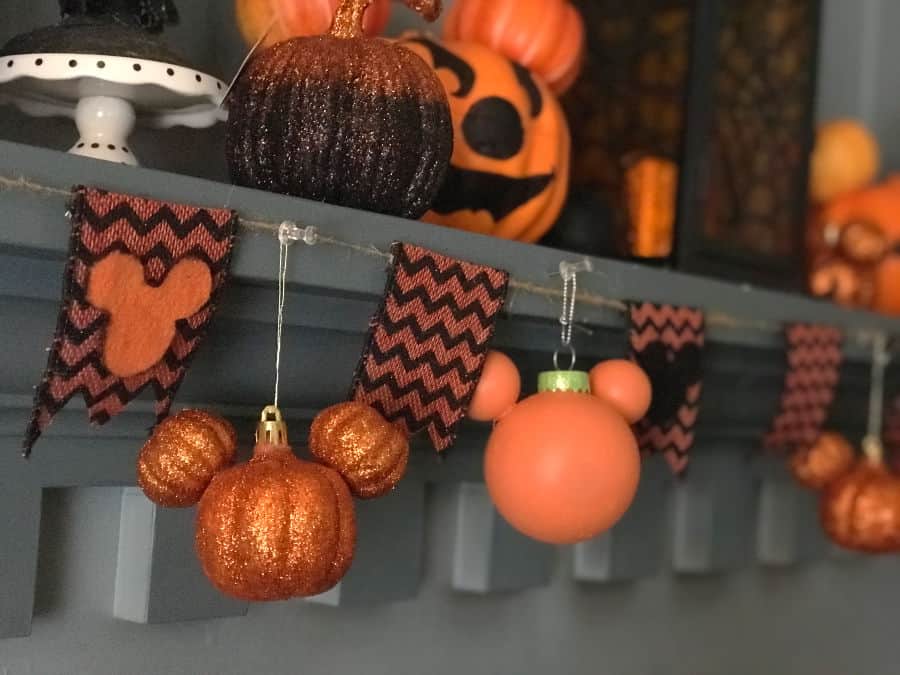
When I started decorating this year, I realized that my Disney Halloween ornament stash was lacking. And since necessity is the mother of invention (and I literally just came home from Walt Disney World yesterday), I decided, why not make my own, right? Here’s the scoop on how to make your own Mickey jack-o-lantern ornaments.
BTW, if you found this tutorial while looking for DIY Disney Christmas ornaments, you’ve come to the right place. Here’s a fun tutorial for Mickey Christmas ornaments with no gluing required.
DIY Disney Halloween Ornament: Mickey Jack-o’-Lantern Materials
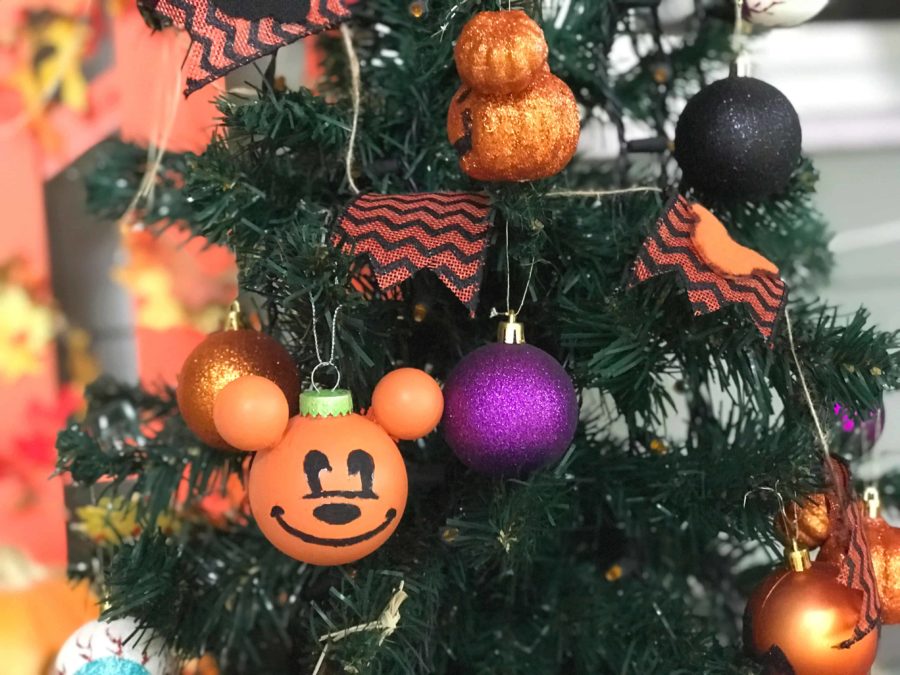
Here’s what you’ll need to make your own Mickey jack-o’-lantern ornaments:
- Large plastic ornaments for head
- Small plastic ornaments for ears. You’ll need two for every one complete ornament.
- Cordless Drill
- Drill bits. I used four sizes (explanation below)
- Orange Paint
- Yellow Paint
- Green Paint
- Black Sharpie
- Pencil
DIY Disney Halloween Ornaments: Mark and Drill Ear Holes
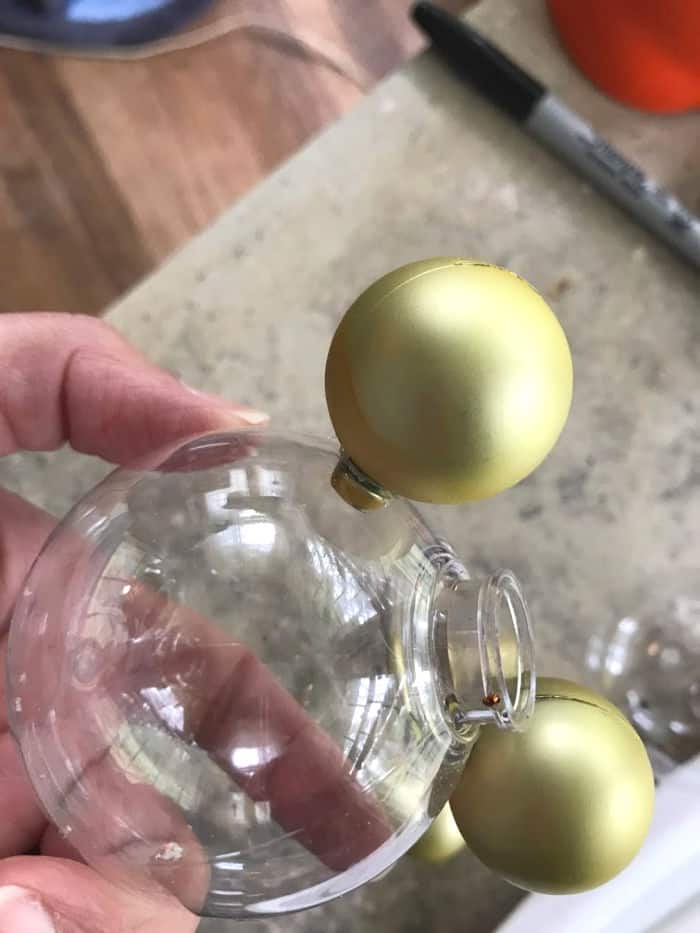
First step, remove the plastic ornament hangers. They’ll either be held on with a small wire or by simply popping them on. Either way, pop them off and save the larger ones. Next, mark the holes you’ll be drilling with a dark sharpie. Where you put them depends on how you like Mickey’s ears to look.
If there’s only one tip you heed, it’s this: when drilling the holes, take your time. I started with a 1/8th inch bit and worked my way up to a 5/16th with two sizes in between. Also, don’t put a lot of pressure on the ornament – it may dent or crack.
Personally, I like to make the ornaments assembly-style, so I drilled all of the ear holes at the same time. Once all of the large ornaments were drilled, I carefully popped in the ears. Note: don’t make the holes larger than the ornament tops or you’ll risk having to start over or use a ton of hot glue to remedy.
DIY Disney Halloween Ornaments: Mickey Jack-o’-Lantern Painting
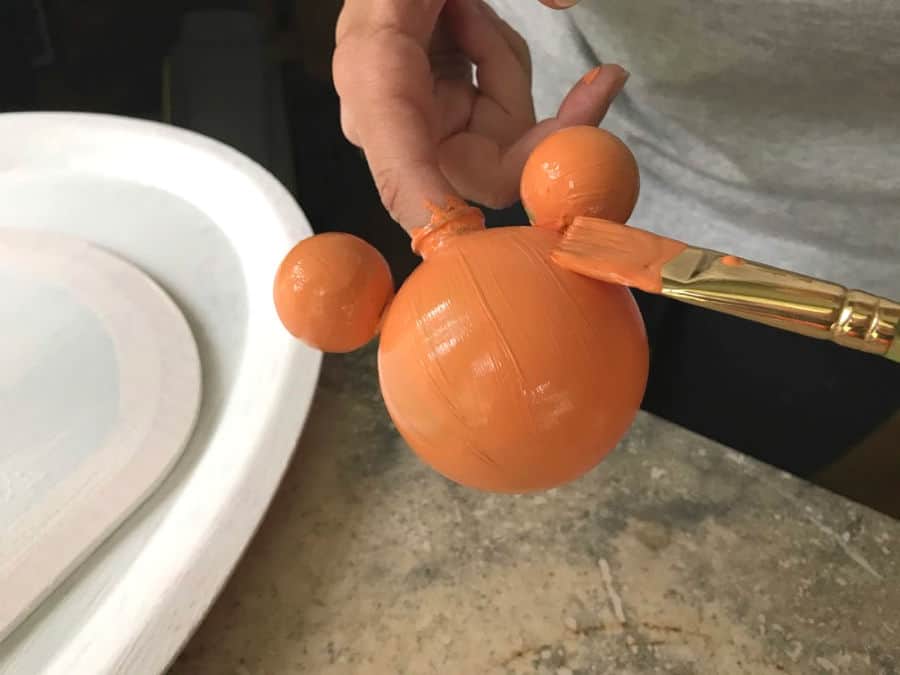
When I realized I needed more Halloween Disney ornaments, by the time I hit my local Dollar Tree, the Halloween bulbs were gone. So, I purchased clear ornaments for the head and small, gold ornaments for the ears in the Christmas section. If you want to save the painting step, find plastic, orange Halloween bulbs and drill them.
As for the paint, I used acrylic paint for all steps.
For both the ears and head areas, I ended up using three coats of orange paint. It’s all up to you whether you want a bright orange or more muted orange. Go with your personal preference and decor.
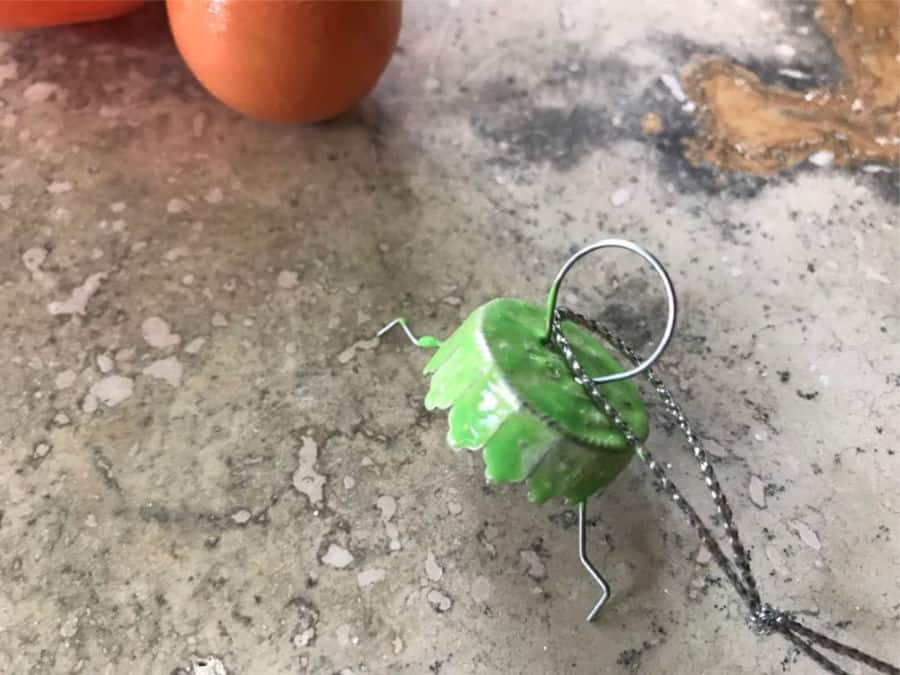
While you’re waiting for the heads and ears to dry, paint the large ornament holders a pretty green. You’ll need at least three coats of paint.
DIY Disney Halloween Ornaments: Painting the Face
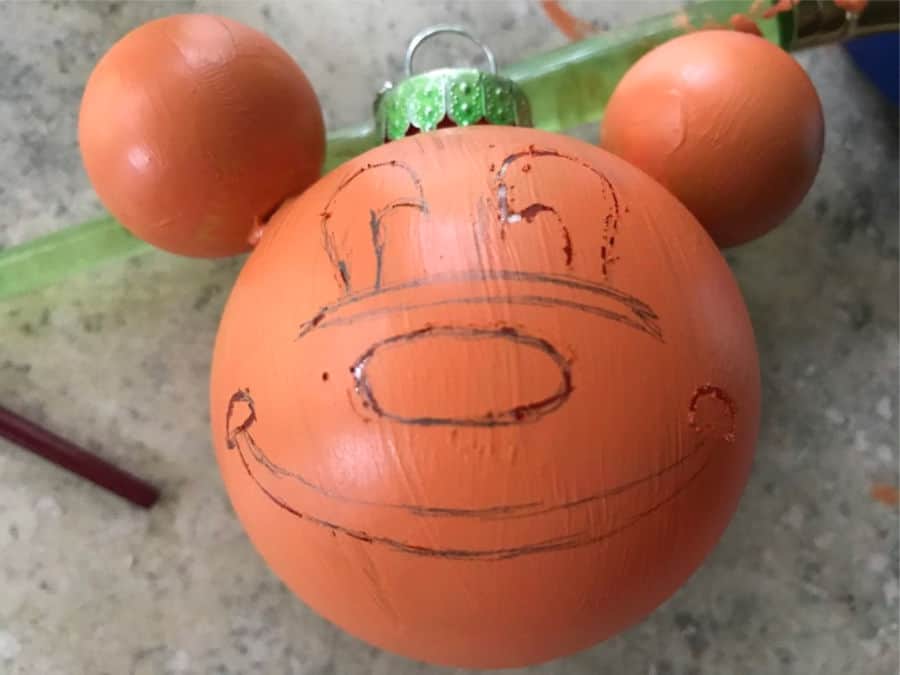
I’m not the kind of girl that can remember a Mickey face (and then draw it) from memory, so I headed online to find the style of Mickey face I liked. I ended up going with the look from this year’s Mickey Pumpkin Bucket from ShopDisney.com.
Once the ornaments are completely dry, use a sharp pencil to sketch out the eyes, nose, and mouth. Of course, just like regular jack-o’-lanterns, each one will end up being different from the next, so no worries if they’re all not identical.
The next step is totally your call. You can either paint on the face with black acrylic paint or use a black Sharpie to color in the lines you’ve just drawn. What worked best for me was painting the face with black acrylic paint.
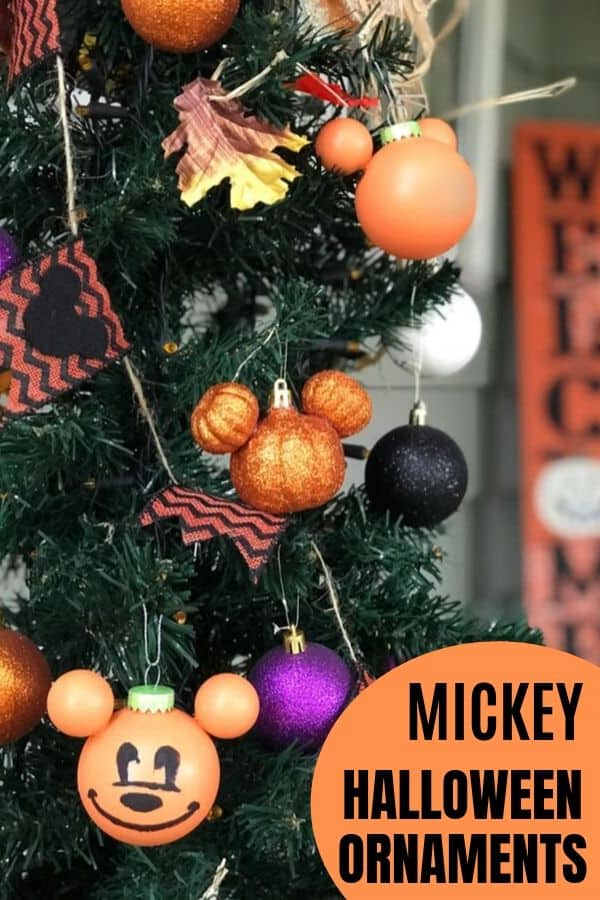
Once that step is done and dry, you’re ready to hang! I added mine to my fireplace mantle, but I can see them being used on a Halloween tree or making a fun garland to drape.

Leave a Reply