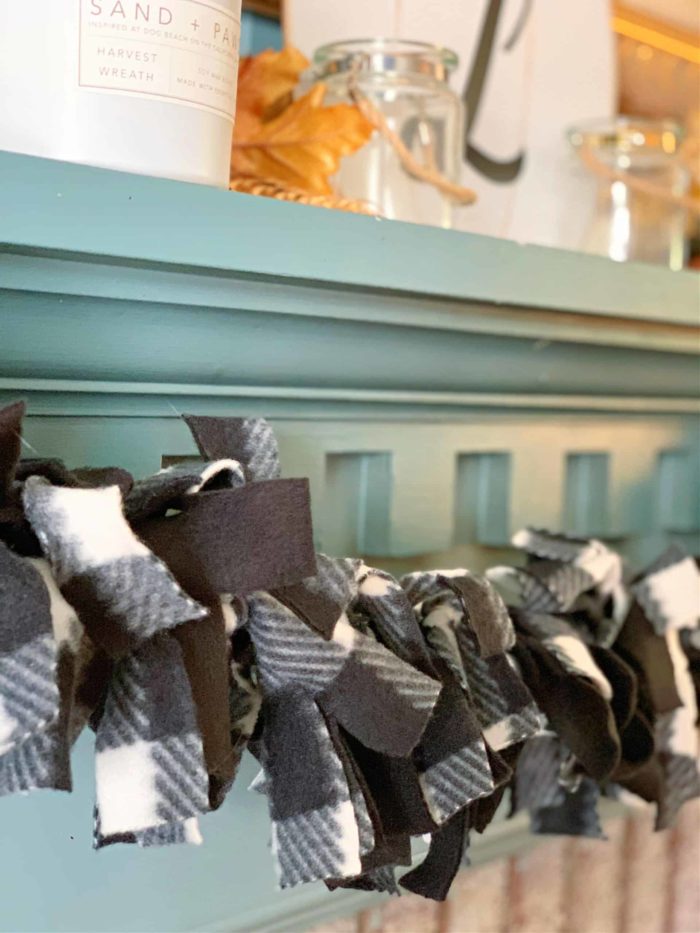
There are times when I look at a holiday item in the store and think, “I can make that myself for way less!” Last week, I went to one of the largest craft stores and was ready to purchase Buffalo Check rag garland. Then, remembering what I’d recently seen at Dollar Tree, I knew I could make it even better and for a fraction of the cost. Enter my DIY Buffalo Check garland. Every supply I used I bought at Dollar Tree and I think it turned out beautifully. Here’s how to make your own.
Making holiday crafts this time of year is therapeutic for me. It’s a good way to zen out and focus on the task at hand. I’ve made Mickey Christmas ornaments and a DIY Hidden Mickey wreath in the past that I still use yearly.
This holiday season, I really wanted to decorate in the Buffalo Check theme which is super trendy. And, knowing my love of making a craft for way less money than I could buy in the stores, I created this shabby chic garland for only $4. Yep, 4 bucks!
Making this craft was not only super easy and fun to create, but there’s always a sense of accomplishment when I’m finished. Plus, if I can put my own spin on a store item, I’m always on board.
As for the amount of time you need to put aside to make the garland, I’d give it about 45 minutes. Of course, that depends on how fast your can cut the material and tie it.
Supplies
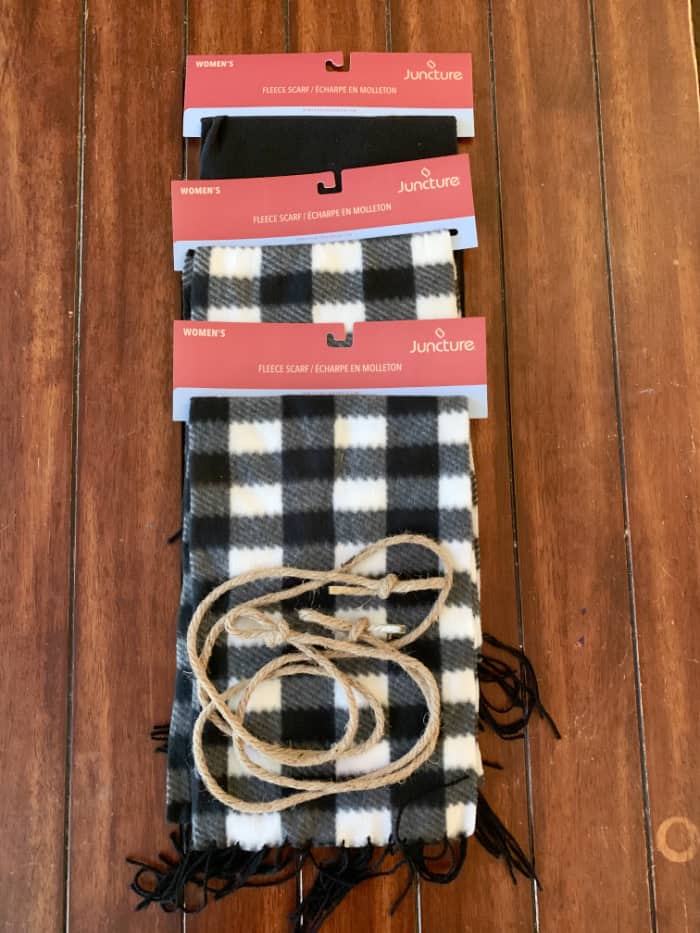
The supplies are super easy to find at Dollar Tree this time of year. Of course, feel free to customize with your own scarves and rope. My garland piece ended up at 4 1/2 feet in length.
- 3 Dollar Tree Fleece Scarves – I purchased 2 in black and white Buffalo Check and 1 plain black.
- Rope or Twine – The style I used comes in 9 1/2 feet length. I cut mine to fit my mantle.
- A Pair of Scissors. In my humble opinion, fabric scissors are the best option as they cut through the material super easily.
DIY Buffalo Check Rag Garland Step by Step
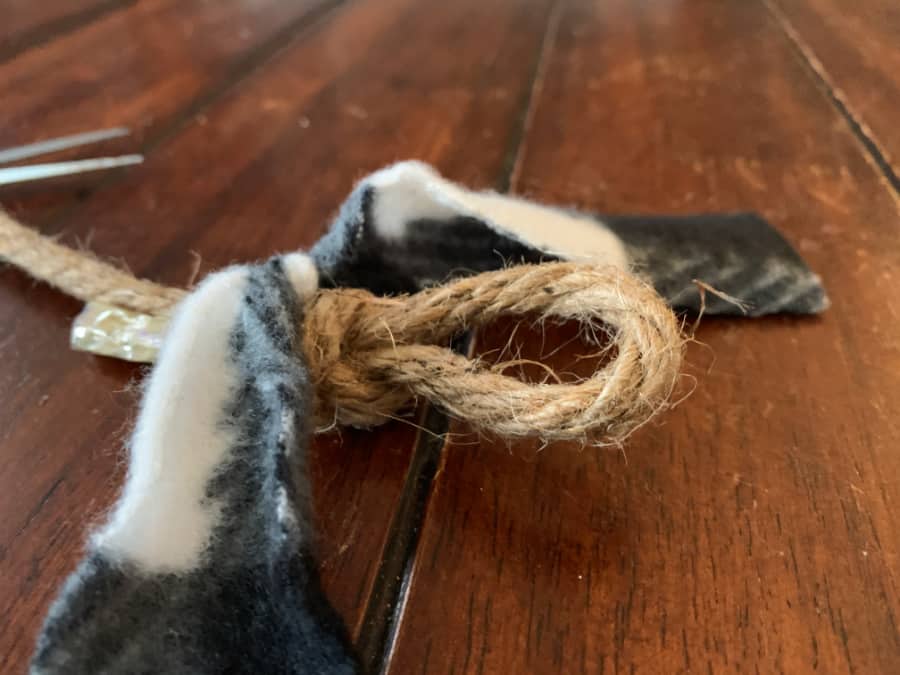
First, measure your rope to fit your mantle or space you’ll be hanging it on.
Next, tie a slip knot on both ends and tighten as much as you can. I like to make my slip know about an inch long in case I need to adjust.
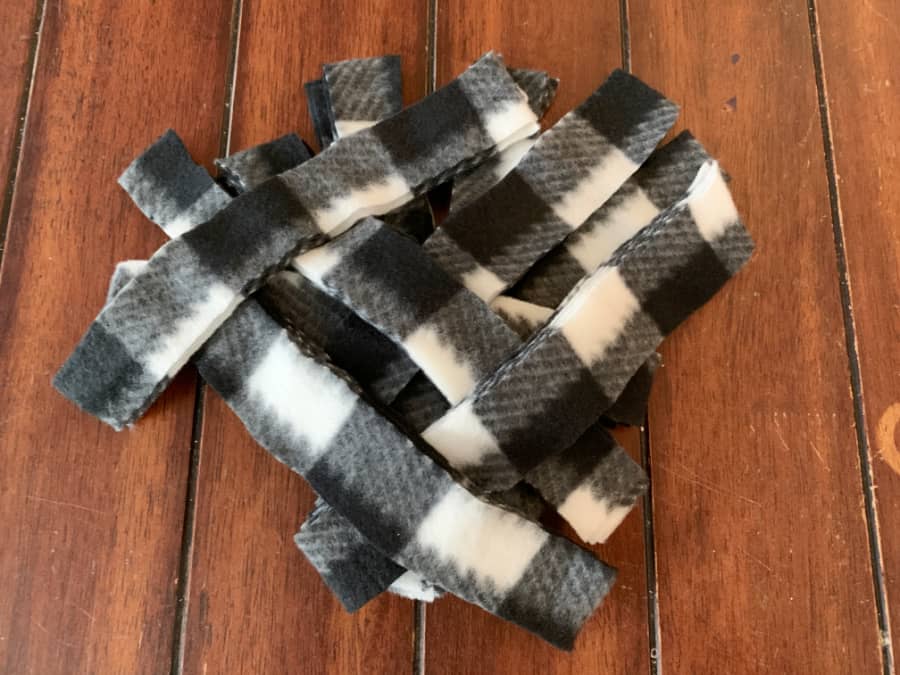
For the scarves – cut the yarn fringe off both ends and discard. Then, fold over the scarf longways and then again so you have four sections. Cut apart the folds so you have four separate pieces. Do this will all three scarves.
Cut strips of fleece about an inch wide. I got 10 strips from each piece.
Assembling The DIY Buffalo Check Garland
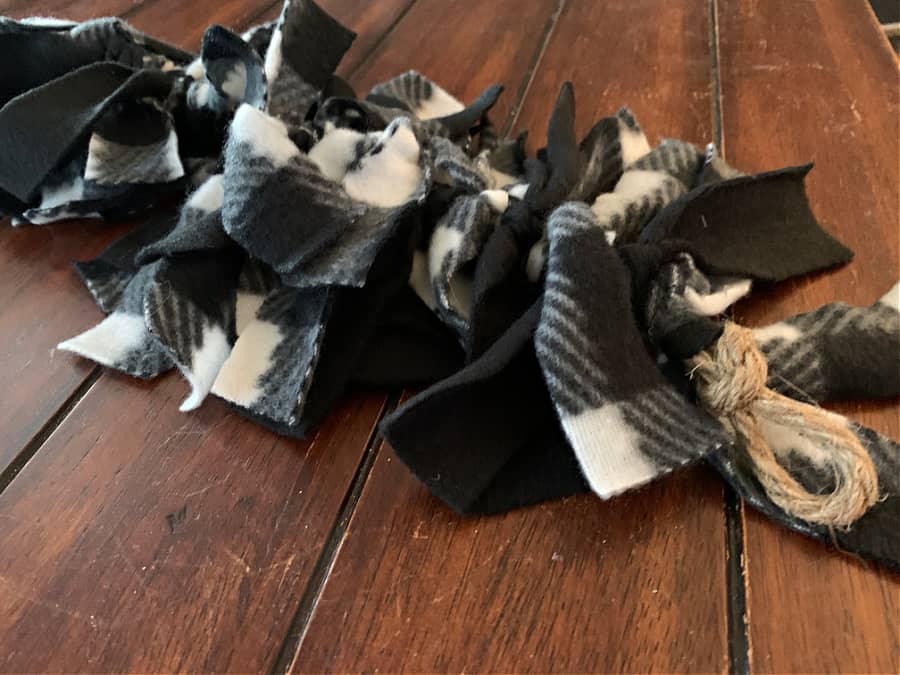
Starting on one end, tie simple knots in each piece around the rope. I used the following pattern but you can customize any way you like:
Buffalo Check – Buffalo Check -Black
I squeezed my pieces tightly together to give it a fuller look, but you can determine how you like yours. I ended up with a 4 1/2 foot long garland piece. Of course, feel free to make yours as long or short as you’d like it to be.
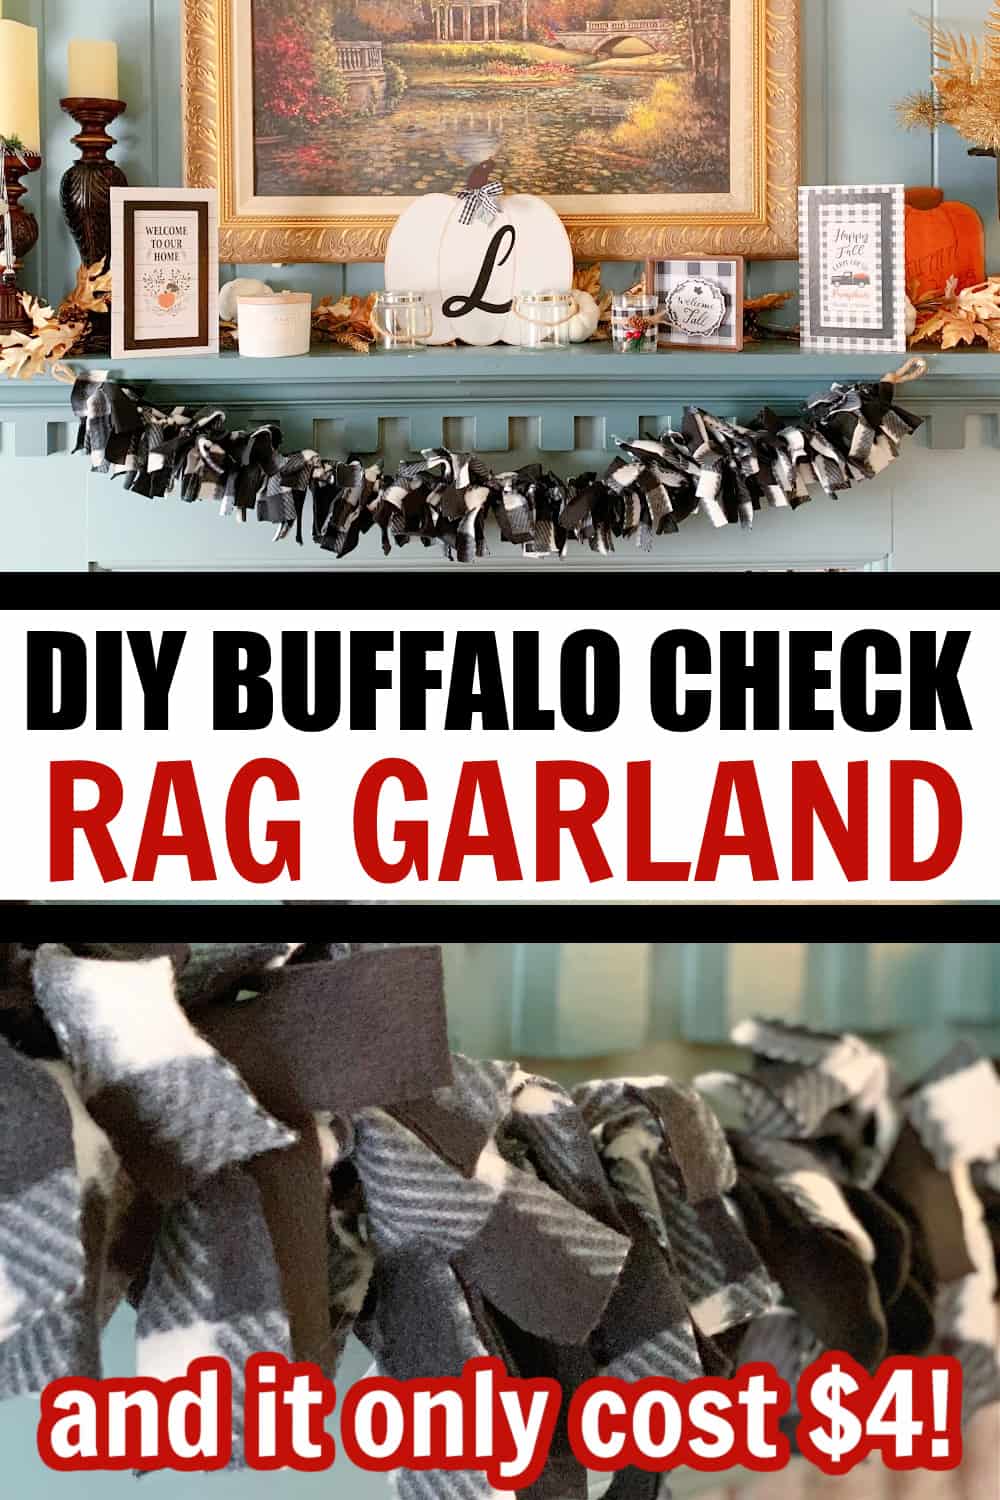
And that’s it! If you want to mix it up, but some burlap ribbon, cut strips, and tie onto the rope for a fun farmhouse look. I really love how it turned out and can see this DIY for Christmas garland as well.

Leave a Reply