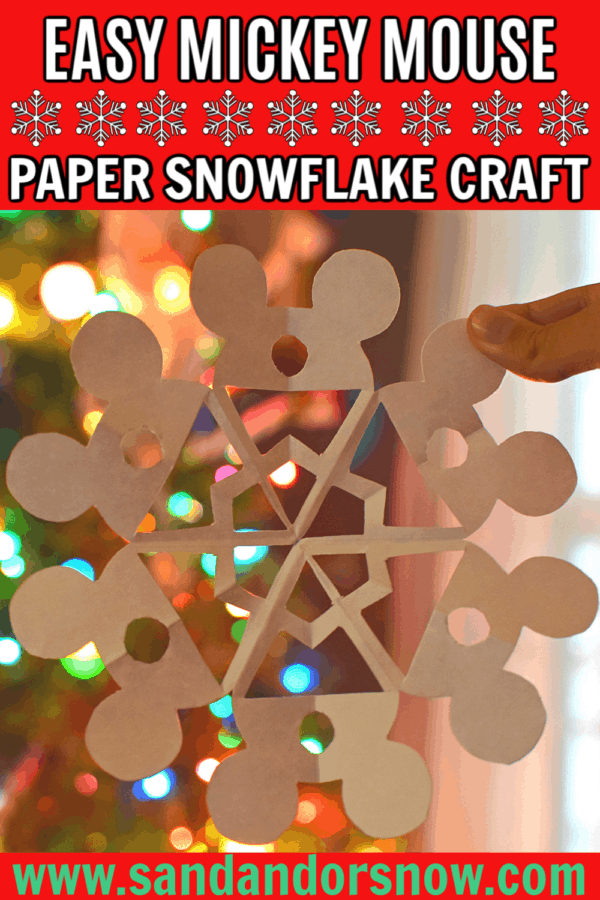
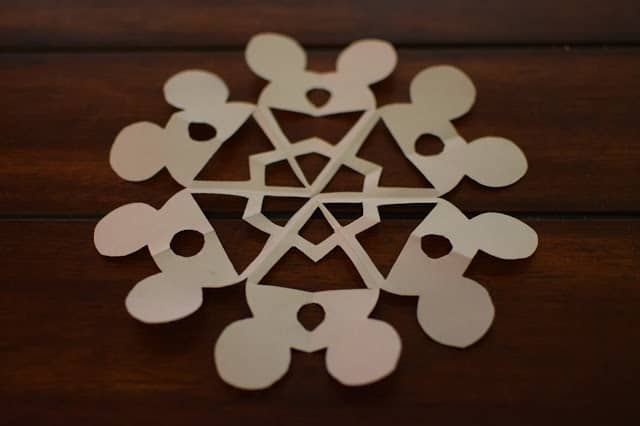
This Mickey Mouse Paper Snowflakes tutorial was found on Disney Parks Blog. I love sharing fun, easy crafts so it was a no-brainer to share this one.
Remember when you were a kid and you’d fold a circle of tissue paper a few times, cut some designs that made no sense, and then ended up with a snowflake to take home? Disney Parks Blog is bringing back the paper snowflake- Mickey Mouse style! With a few folds, some strategic cuts, and patience, you can have a house full of Mickey Mouse Paper Snowflakes in no time.
First Stop: head here to print out the Disney cutting guide and detailed directions. What’s even cooler than years ago is that you can print off as many templates as you like and use computer paper. If that won’t work for you, here’s a .pdf link for the Mickey hat snowflake.
Want to decorate your home with more Mickey-inspired holiday crafts? Here’s how to make Mickey holiday ornaments with no gluing required.
How To Make a Disney Mickey Mouse Snowflake
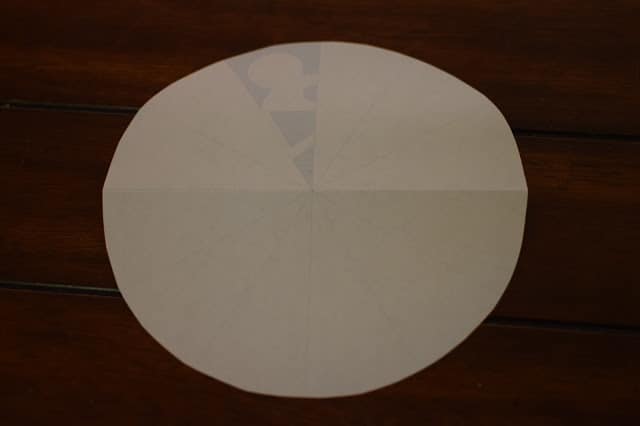
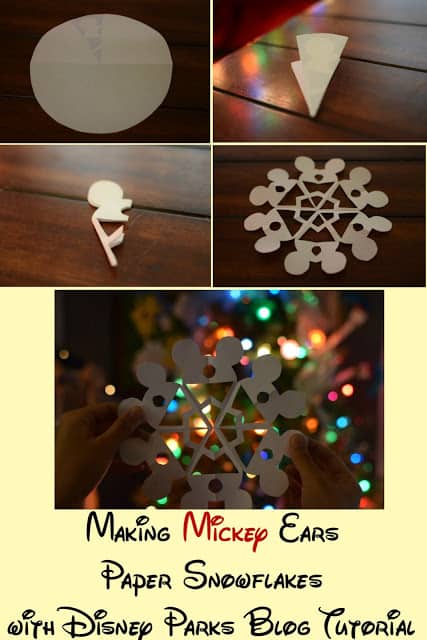
Step 1: Print out the template here. You’ll need one for each snowflake. The template itself has very faint lines on it so don’t panic if they’re barely visible.
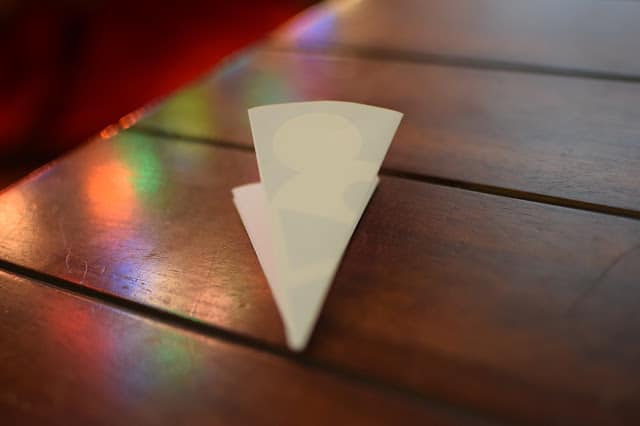
Step 2: Cut out circle and fold as directed. Make sure not to fold the cutting guidelines inward so you can’t see them.
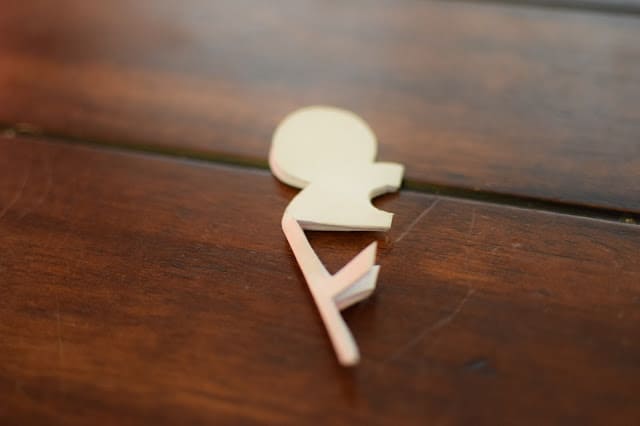
Step 3: Take Your time cutting. There’s some intricate parts, so if you’re good with a utility knife, by all means use it. I did not. Scissors only for this gal.
Step 4: Unfold very carefully. The inside is very dainty and delicate. I smoothed the creases with my fingers.


Leave a Reply