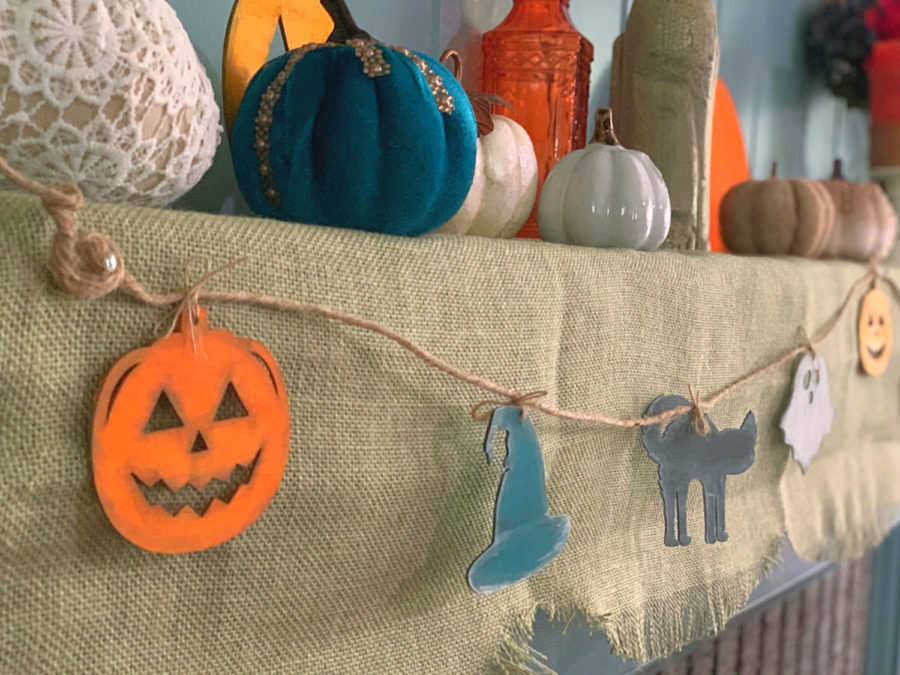
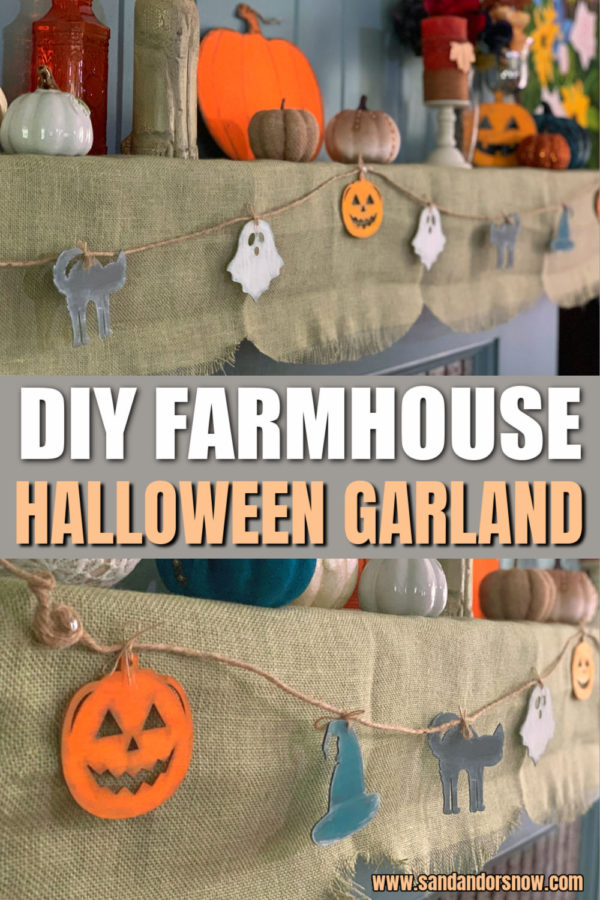
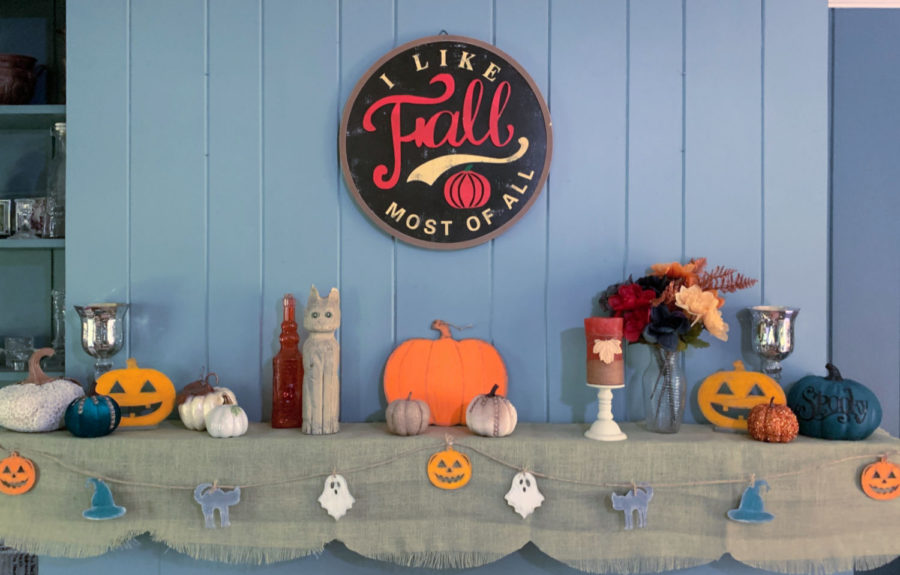
Looking for a fun, easy not-so-spooky-themed garland to go with your farmhouse decor this year? Here’s my tutorial for a super affordable, easy DIY farmhouse Halloween garland including where to find items and tips.

When it comes to Halloween, there’s no doubt it’s my favorite holiday of the year. I love the colors, the look, the everything. Add in the fact that I’m an October birthday girl and you can see the fascination.
But this year to change up my decorating theme, I wanted to go for an old, worn look for my mantle garland. So, I hit Dollar Tree and Walmart and whipped up this super cute farmhouse Halloween garland in about an hour. I added in the color teal as it’s a really hot color for Halloween this year, but you can feel free to change out colors and ornaments.
DIY Farmhouse Halloween Garland: Items to Buy
Again, I purchased everything needed for this DIY Halloween garland at Dollar Tree and Walmart. If you find pieces you’d like to swap out, feel free.

From Dollar Tree:
- 4 styles of Color-your-own Ornaments. I chose all four styles (cat, witch hat, pumpkin, and ghost) but, again, you can tweak yours however you like. Each pack of five comes with ornament hangers, so don’t throw them away – you’ll need them to hang the ornaments.
- Twine. Mine is wired twine found in the craft aisle. If you can’t find it, look for traditional twine near the automotive/hardware section.
- Paint brushes. Make sure you get both a craft brush and a stiffer brush for dry brushing.

From Walmart:
- Apple Barrel Paint. I used two different colors of orange (the middle pumpkin ornament is lighter than the end ones), but you can use one color if you want. It’s very affordable at under $1 each. Honestly, I think mine were 50 cents each.

DIY Farmhouse Garland: Directions
Cover your surface with newspaper or something you don’t mind getting paint on.
Give each ornament two coats of paint and wait until each layer is dry.
Once both coats are dry, you’ll want to start dry brushing. If you’re not familiar with this technique, put a little bit of paint on some paper, dip your stiff-bristle brush into it very lightly, and brush the paper until almost dry. Then, going from the outside to inside, brush around the outside and cutouts of each ornament. Here are the dry brush colors I used for each ornament:
Pumpkins and Ghosts – Elephant Gray
Witch Hats and Gray Cats – White
I layered mine a couple of times as it’s much easier to add to the ornament than remove too much color.

Tips for DIY Halloween Farmhouse Garland
If you’re making it for your mantle, measure out the length of twine you’ll need ahead of time. I used nine ornaments on mine as I like uniformity, but you can put yours in any order or number you like.
I actually attached the twine to my mantle before adding the ornaments to it. It was easier to space them and find the center that way.
If you want to add a mantle scarf like I did, buy some burlap at Walmart or Joann, cut to length, & make a simple scalloped edge. I frayed the ends of each scallop but you don’t have to. The burlap I found is a sage green which makes the blue witch hats pop.
Less is more when it comes to dry brushing. My brush barely had any paint on it and it worked really well. If you find your paint is looking too defined, run your finger over it a couple of times to smooth out.
More Halloween DIY Ideas
https://www.sandandorsnow.com/2019/10/diy-disney-halloween-ornaments-mickey-jack-o-lantern/
https://www.sandandorsnow.com/2016/09/5-super-easy-tips-create-drop-dead-gorgeous-halloween-tablescape/
https://www.sandandorsnow.com/2017/10/easy-halloween-treats-mummy-pringles/

Leave a Reply