Mickey hot chocolate bombs are not only adorable, they’re super tasty and decadent! Looking for a way to celebrate the holidays with a touch of Disney? Here’s my easy recipe for Disney hot chocolate bombs including where to find the supplies and ingredients.
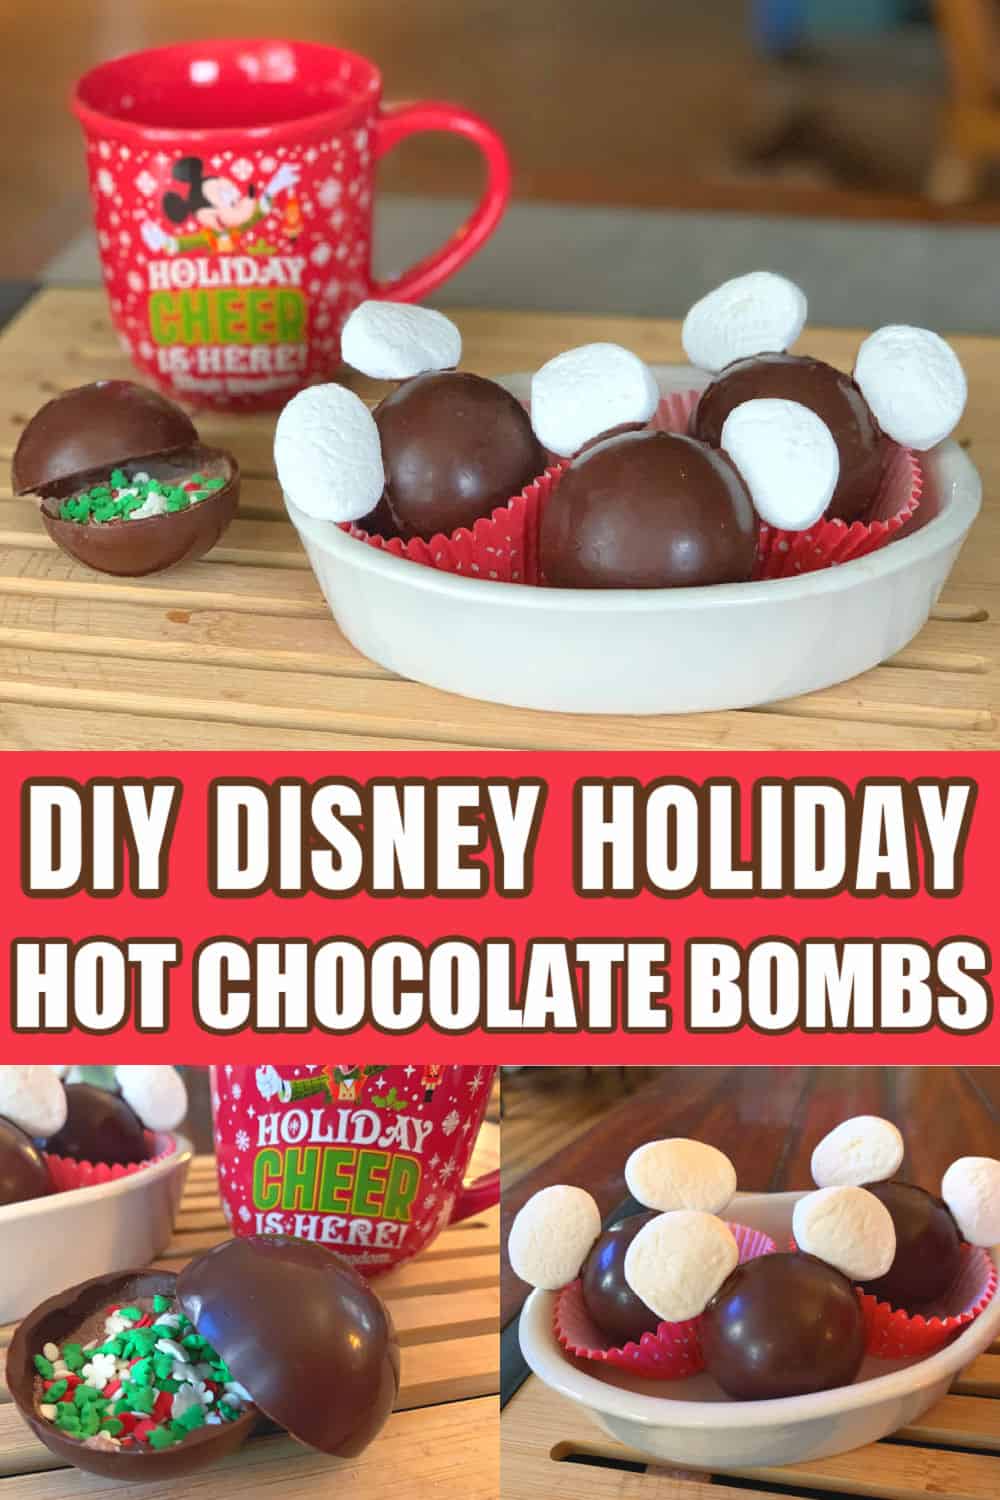
I’m all about adding Disney holiday touches when I decorate, there’s no doubt about it. I’ve made easy DIY Mickey Mouse ornaments for several years and even a hidden Mickey Christmas wreath to hang on the front door. But this year, I wanted to really amp up my holiday drink game and created a super cute Mickey hot chocolate bomb recipe. The best part about it? You can customize it to fit your own preference. Here’s my step-by-step tutorial.
DIY Mickey Hot Chocolate Bombs Ingredients
Here’s the list of ingredients you’ll need to make 6 Mickey hot chocolate bombs:
- 1/2 Bag Chocolate chips or melting wafers. For mine, I like semi-sweet chocolate. Feel free to use whatever you enjoy most, though.
- Hot Chocolate Mix – You’ll need about a teaspoon per cocoa bomb.
- Large Marshmallows – You’ll need one large marshmallow for each hot chocolate bomb
- Mini Marshmallows (optional)
- Colored Sprinkles – I used Christmas ones, but you can use whatever colors you like.
- Milk. I like 2% as it cuts the richness of the chocolate. Again, use whatever kind you enjoy.
- 1 tsp. Corn Starch or Powdered Sugar
In addition, you’ll need the following:
- Silicon Chocolate Sphere Mold. I bought my 2-pack half ball sphere mold on Amazon.
- Double Boiler, Microwave safe container, or Fondue pot. I used my fondue pot and it melted the chocolate perfectly.
- Cutting mats or boards
- Metal Spoon
- Warmed Frying Pan or Plate
Melting the Chocolate
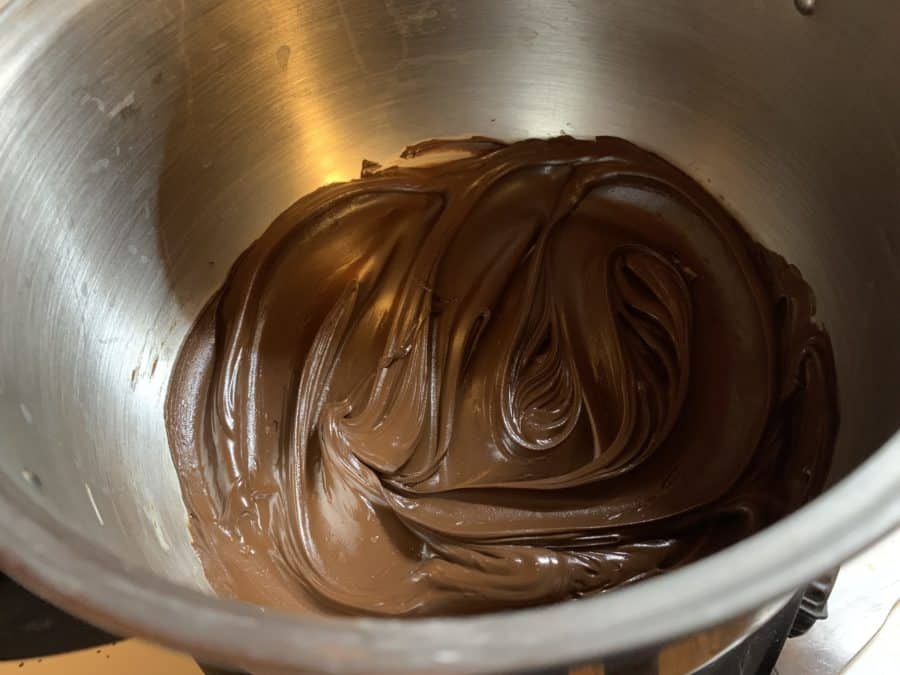
For me, using my fondue pot was ideal as I already have one. If not, there are two methods that work well:
Double boiler – Add water to large pot, making sure it doesn’t touch the pot above and add chocolate to top bowl. Allow chocolate chips to almost all melt, remover from heat, and stir until smooth.
Microwave – In a microwave-safe bowl, add chocolate and microwave for 20 second intervals. Stir between heatings until all chips are melted.
Please be careful so you don’t burn yourself while melting/molding the chocolate!
Molding the Hot Chocolate Bombs
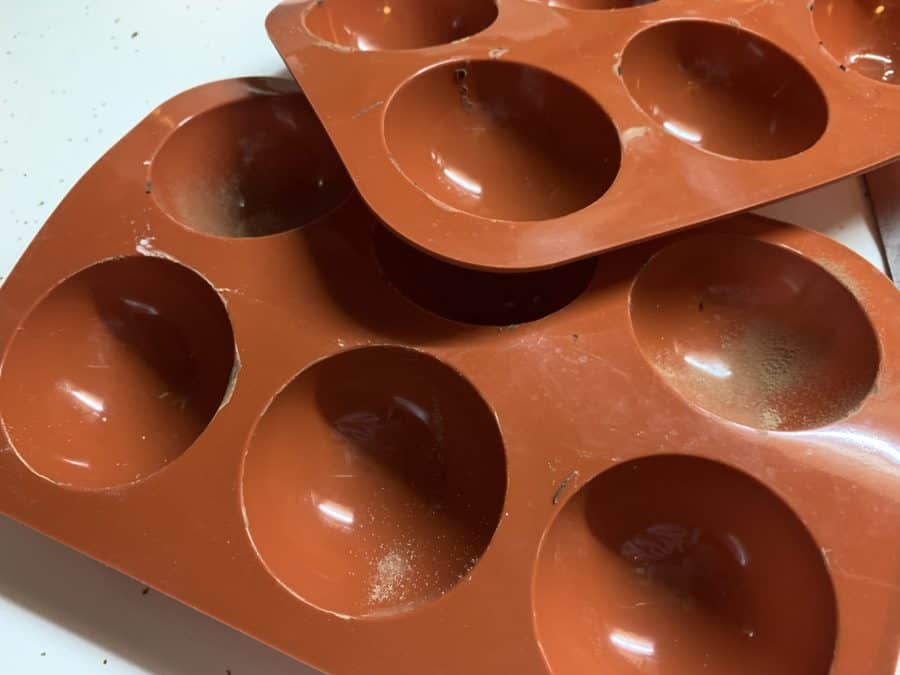
As soon as the chocolate is completely melted you’ll need to start on forming each hot chocolate bomb half. Make sure your molds have been washed and are completely dried before you add the chocolate. Using a soup spoon, add roughly a large teaspoon of melted chocolate to each mold section. While you need to work pretty quickly, don’t worry about the chocolate cooling instantly.
Using the back of that same spoon, cover the entire mold area with about 1/4 inch of chocolate making sure it goes up to the upper lip of each mold. Once all of mine were filled I double checked for thin/empty spaces.
In my neck of the woods near Pittsburgh, it’s pretty cold this time of year so I set my molds on my front porch to chill. If you don’t have a safe, outdoor space to do that, put them into the fridge until the chocolate sets and hardens.
Unmolding
If there was a part to use a light hand it’s this step. To keep the half spheres from breaking, I pulled the top gently away from the chocolate first. Next, and one at a time, unpeel the mold from the sphere. As you’ll have some thickness to the walls, it should pull away with no issues.
If your molds have begun to warm up, pop them back into the fridge for a few minutes before the next step.
Filling and Combining the Mickey Hot Chocolate Bomb Molds
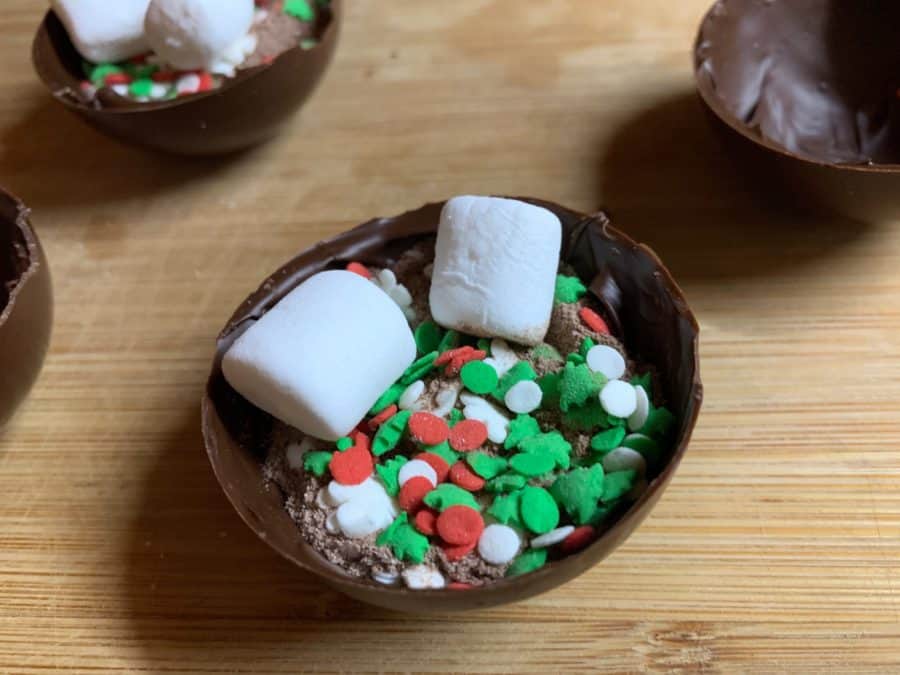
This is the step where you can let your imagination run! Add 1 heaping teaspoon of instant hot chocolate mix to half of the halves (ha!). Top the mix with candy sprinkles, mini marshmallows, and/or colored sugar. For mine, I added red, white, and green Christmas sprinkles plus three mini marshmallows.
Once you have half of your molds filled and ready, heat a frying pan or small plate up until warm. I used a frying pan, added a couple of drops of water to it and, as soon as the water evaporated, turned off the heat. If you’re using a plate, run it under hot water for 30 seconds or so and dry completely. You may have to keep reheating the plate, though.
With light pressure, but still enough to hold properly, rub the bottom edge of the top mold onto the frying pan or plate for a second or two. As soon as you begin to see melted chocolate, remove and quickly add to a filled bottom. You’ll need enough pressure to make sure they adhere but not too much that you’ll bend or crack the chocolate.
Next, put on the porch or in the fridge and make the ears.
Making & Adding the Marshmallow Ears
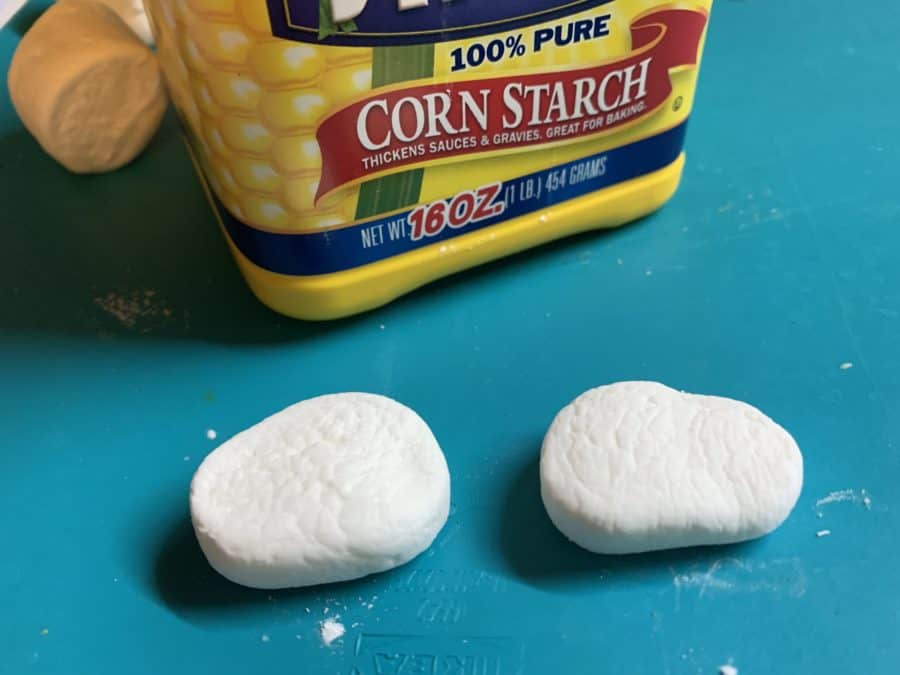
Super easy step. You’ll need one large marshmallow per hot chocolate bomb.
Look for marshmallows that have a flat edge for a natural look. Then, cut both ends of the marshmallow off – those will be your two ears. Using a teeny amount of corn starch or powdered sugar, dip your finger in and rub the sticky side of each ear that you cut. While it’s not completely necessary, it will stop them from sticking to your fingers while attaching. Set aside.
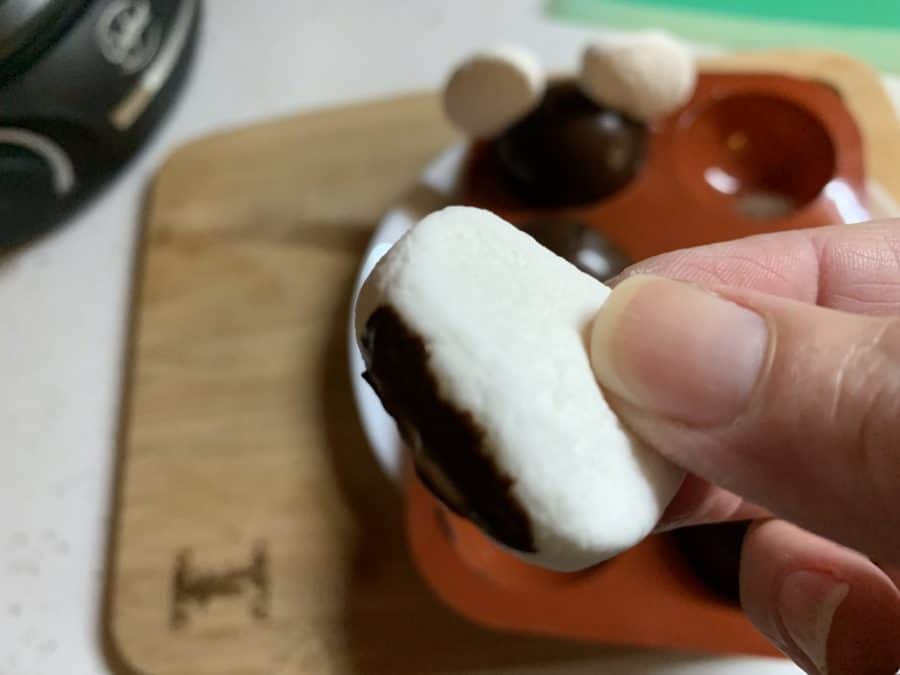
Grab your hot chocolate bombs from the fridge (or porch!) and, while still cold, use the back of your spoon to add a couple of drops of chocolate to the flat, bottom part of each ear one at a time. Add immediately to the chocolate sphere and hold in place for about 10 seconds until the chocolate has cooled and the ears stay in place. Repeat for each chocolate bomb.
And that’s it! You can keep them in a cool place for a few days or use immediately. All you need to do is heat up milk until you see bubbles around the inside edge of the pot, pour into a mug, and gently drop in a Mickey hot chocolate bomb. Once it starts to melt, stir with a straw or spoon and enjoy!
More Disney Christmas DIYs
https://www.sandandorsnow.com/2018/12/diy-disney-christmas-wreath-hidden-mickey-tutorial/
https://www.sandandorsnow.com/2016/12/diy-mickey-ornaments-easy-affordable-no-gluing/
https://www.sandandorsnow.com/2015/12/decorate-with-mickey-mouse-this-holiday/

Leave a Reply