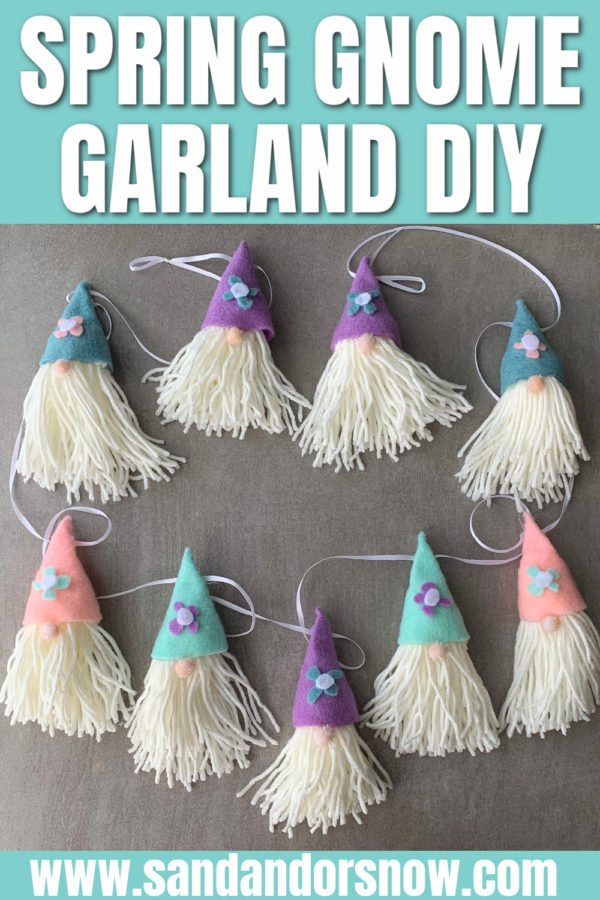
If you’re like I am, you can’t get enough of gnome decorations in the house. I, personally, have been adding to my collection as much as possible, but I was coming up shorthanded for affordable gnome garland. So, I created this spring gnome garland DIY that’s both cost effective and super easy to make.
Want a fun tutorial for and Easter DIY? Here’s how to make a Minnie Mouse Easter wreath using supplies from Dollar Tree!
Spring Gnome Garland DIY: Supplies
To make this spring gnome garland, here’s what you’ll need:
- 4 pieces of felt in different colors. I used mint green, lilac, pale pink, and pale teal.
- 1 piece of white felt
- 1 skein of ivory yarn. I found mine at Dollar Tree.
- 9 Flesh colored crafting balls for the noses. If you can’t find the right color, purchase white ones and I’ll give you a hack at the end.
- 1 roll of thin white ribbon that’s at least 70 inches in length
Additionally, you’ll need:
- Got glue gun and glue sticks
- Needle and white thread
- Paper and pen
- a piece of scrap cardboard that’s 6 inches by two inches
Spring Gnome Garland DIY: Hat Prep
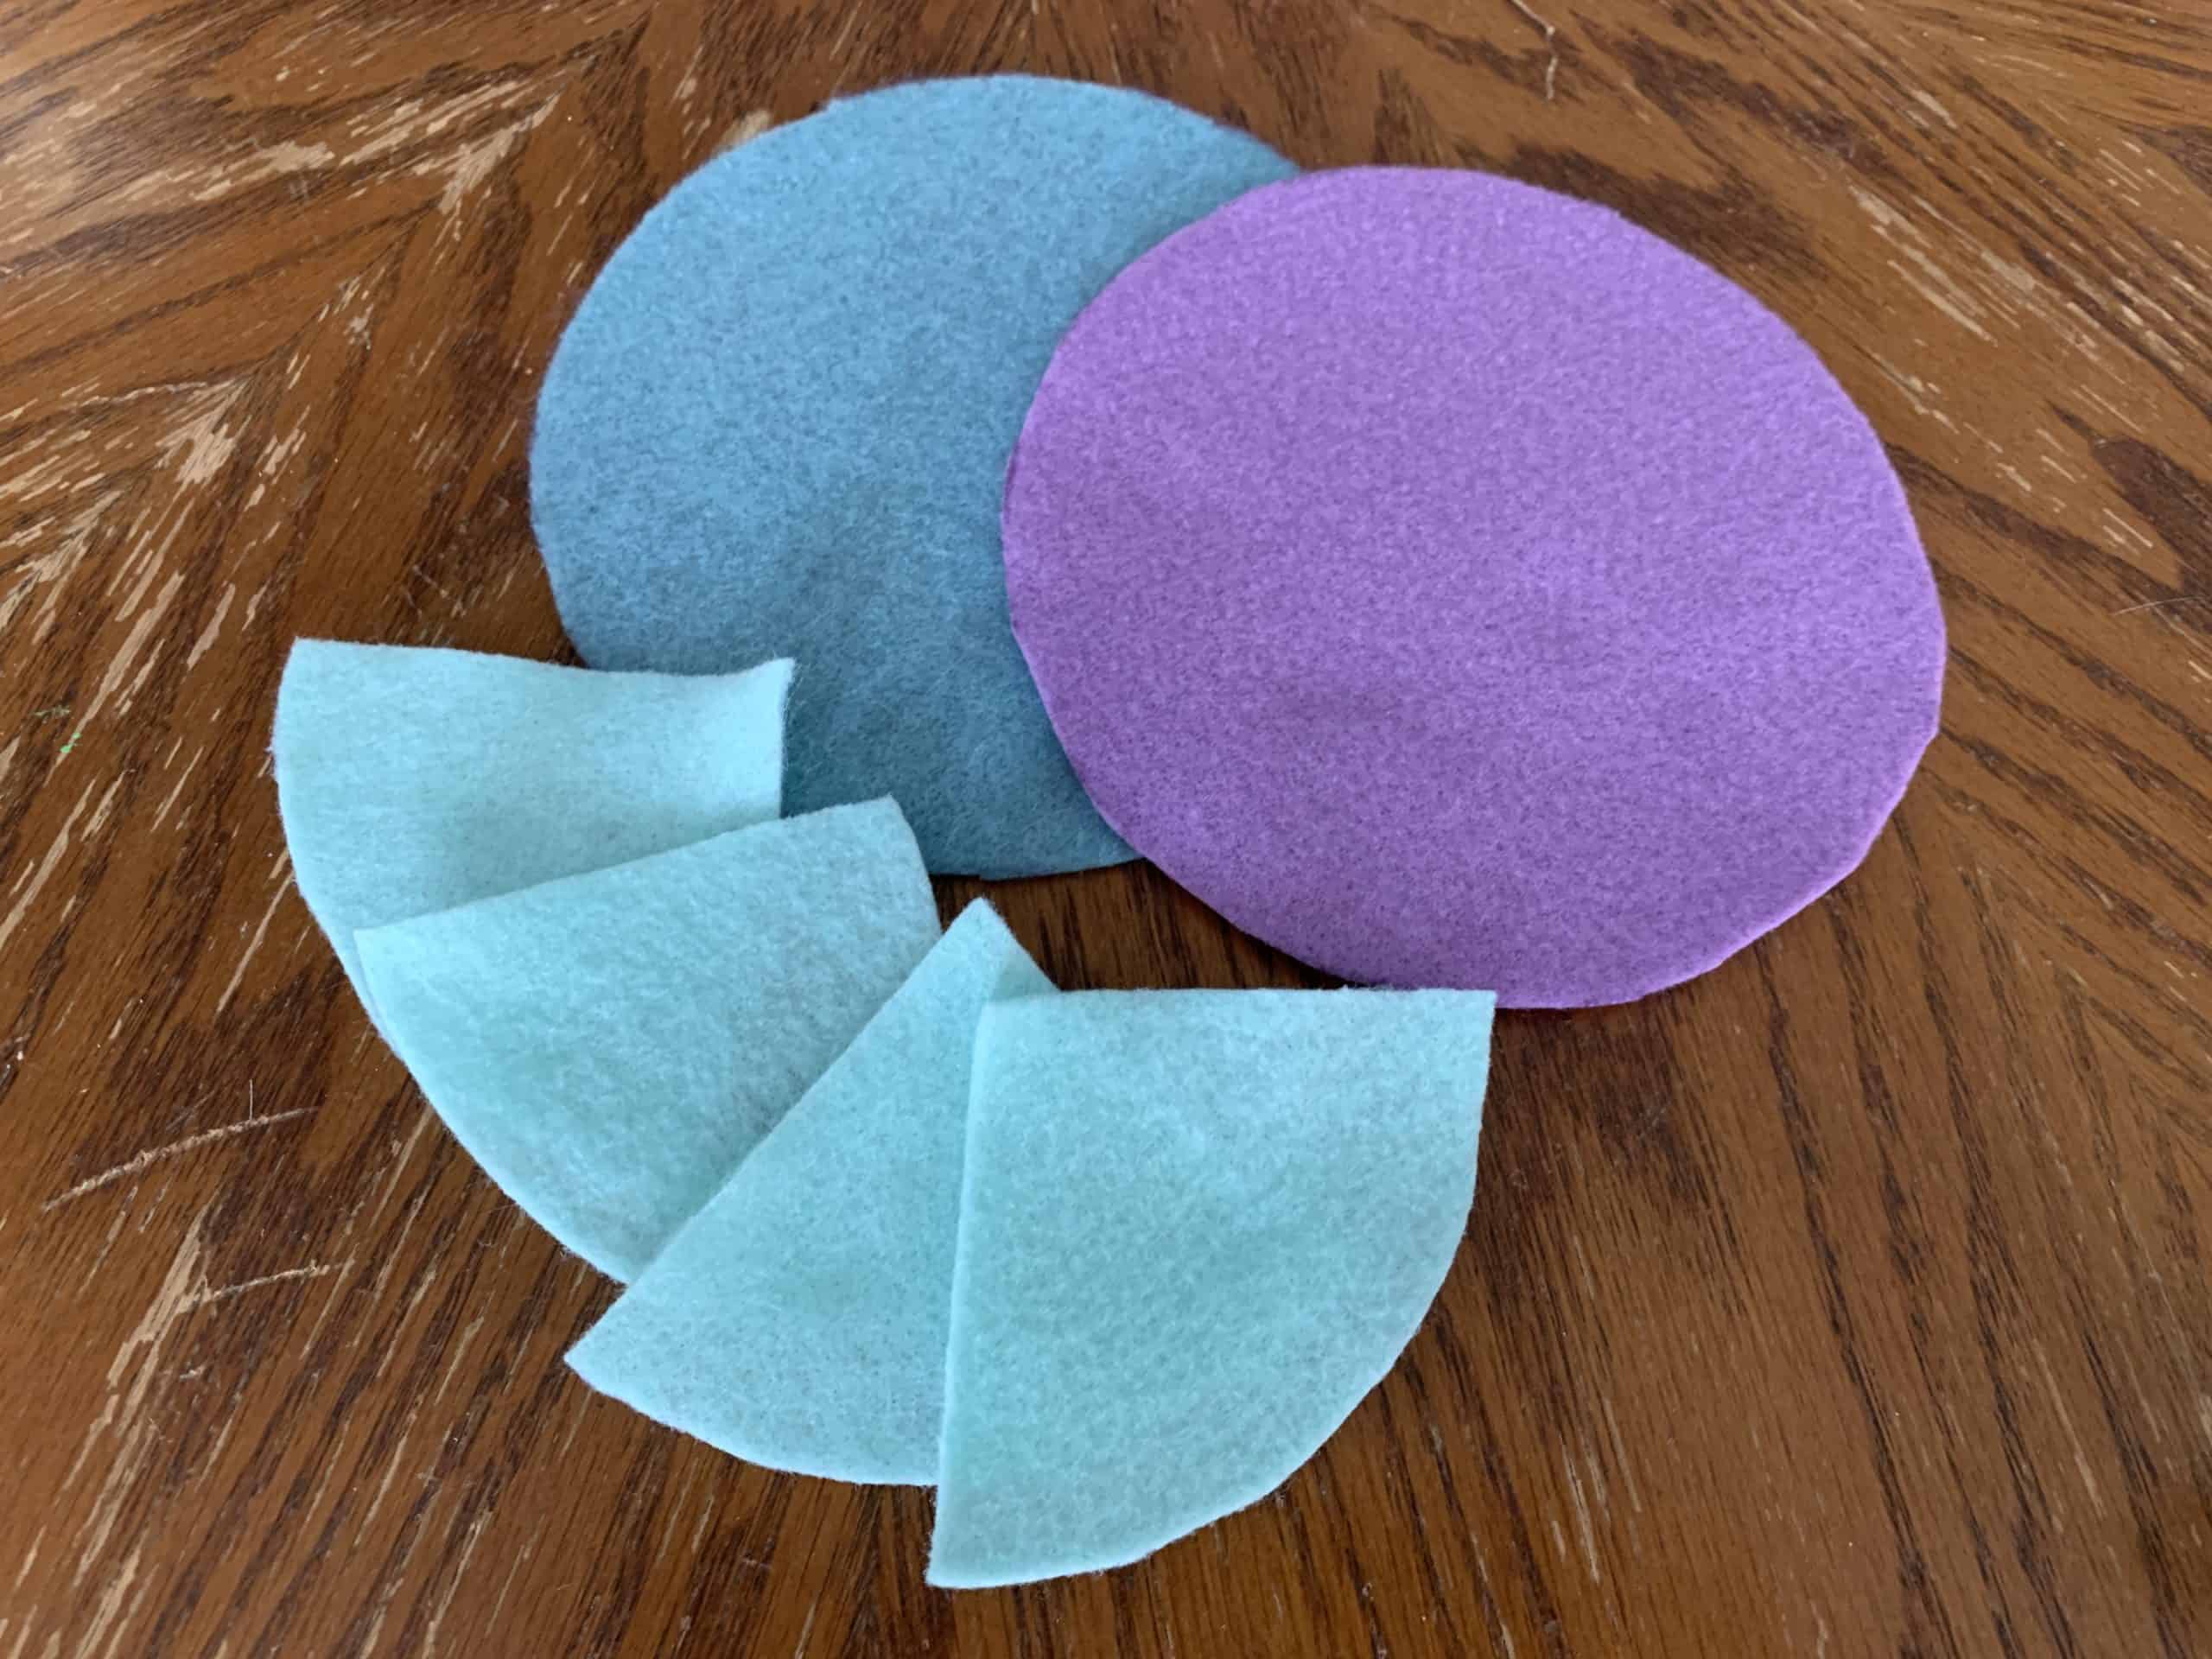
First, you’ll need to find a 5 1/2 inch diameter cup or bowl. If you have something that’s close, go ahead and use it. If you’re coming up shorthanded, make a circle with that diameter from a pencil and string on a thick piece of paper. Make one circle for each of the four colored felt pieces and cut out.
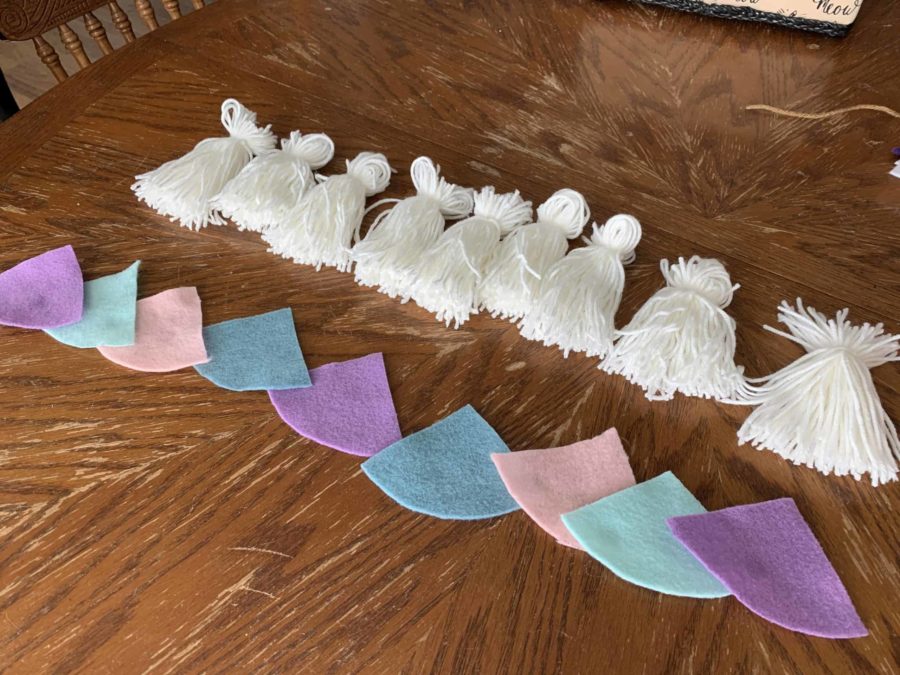
Next, fold each circle in half and cut. Then, fold those pieces in half and cut. You’ll end up with 4 circle quarters for each circle.
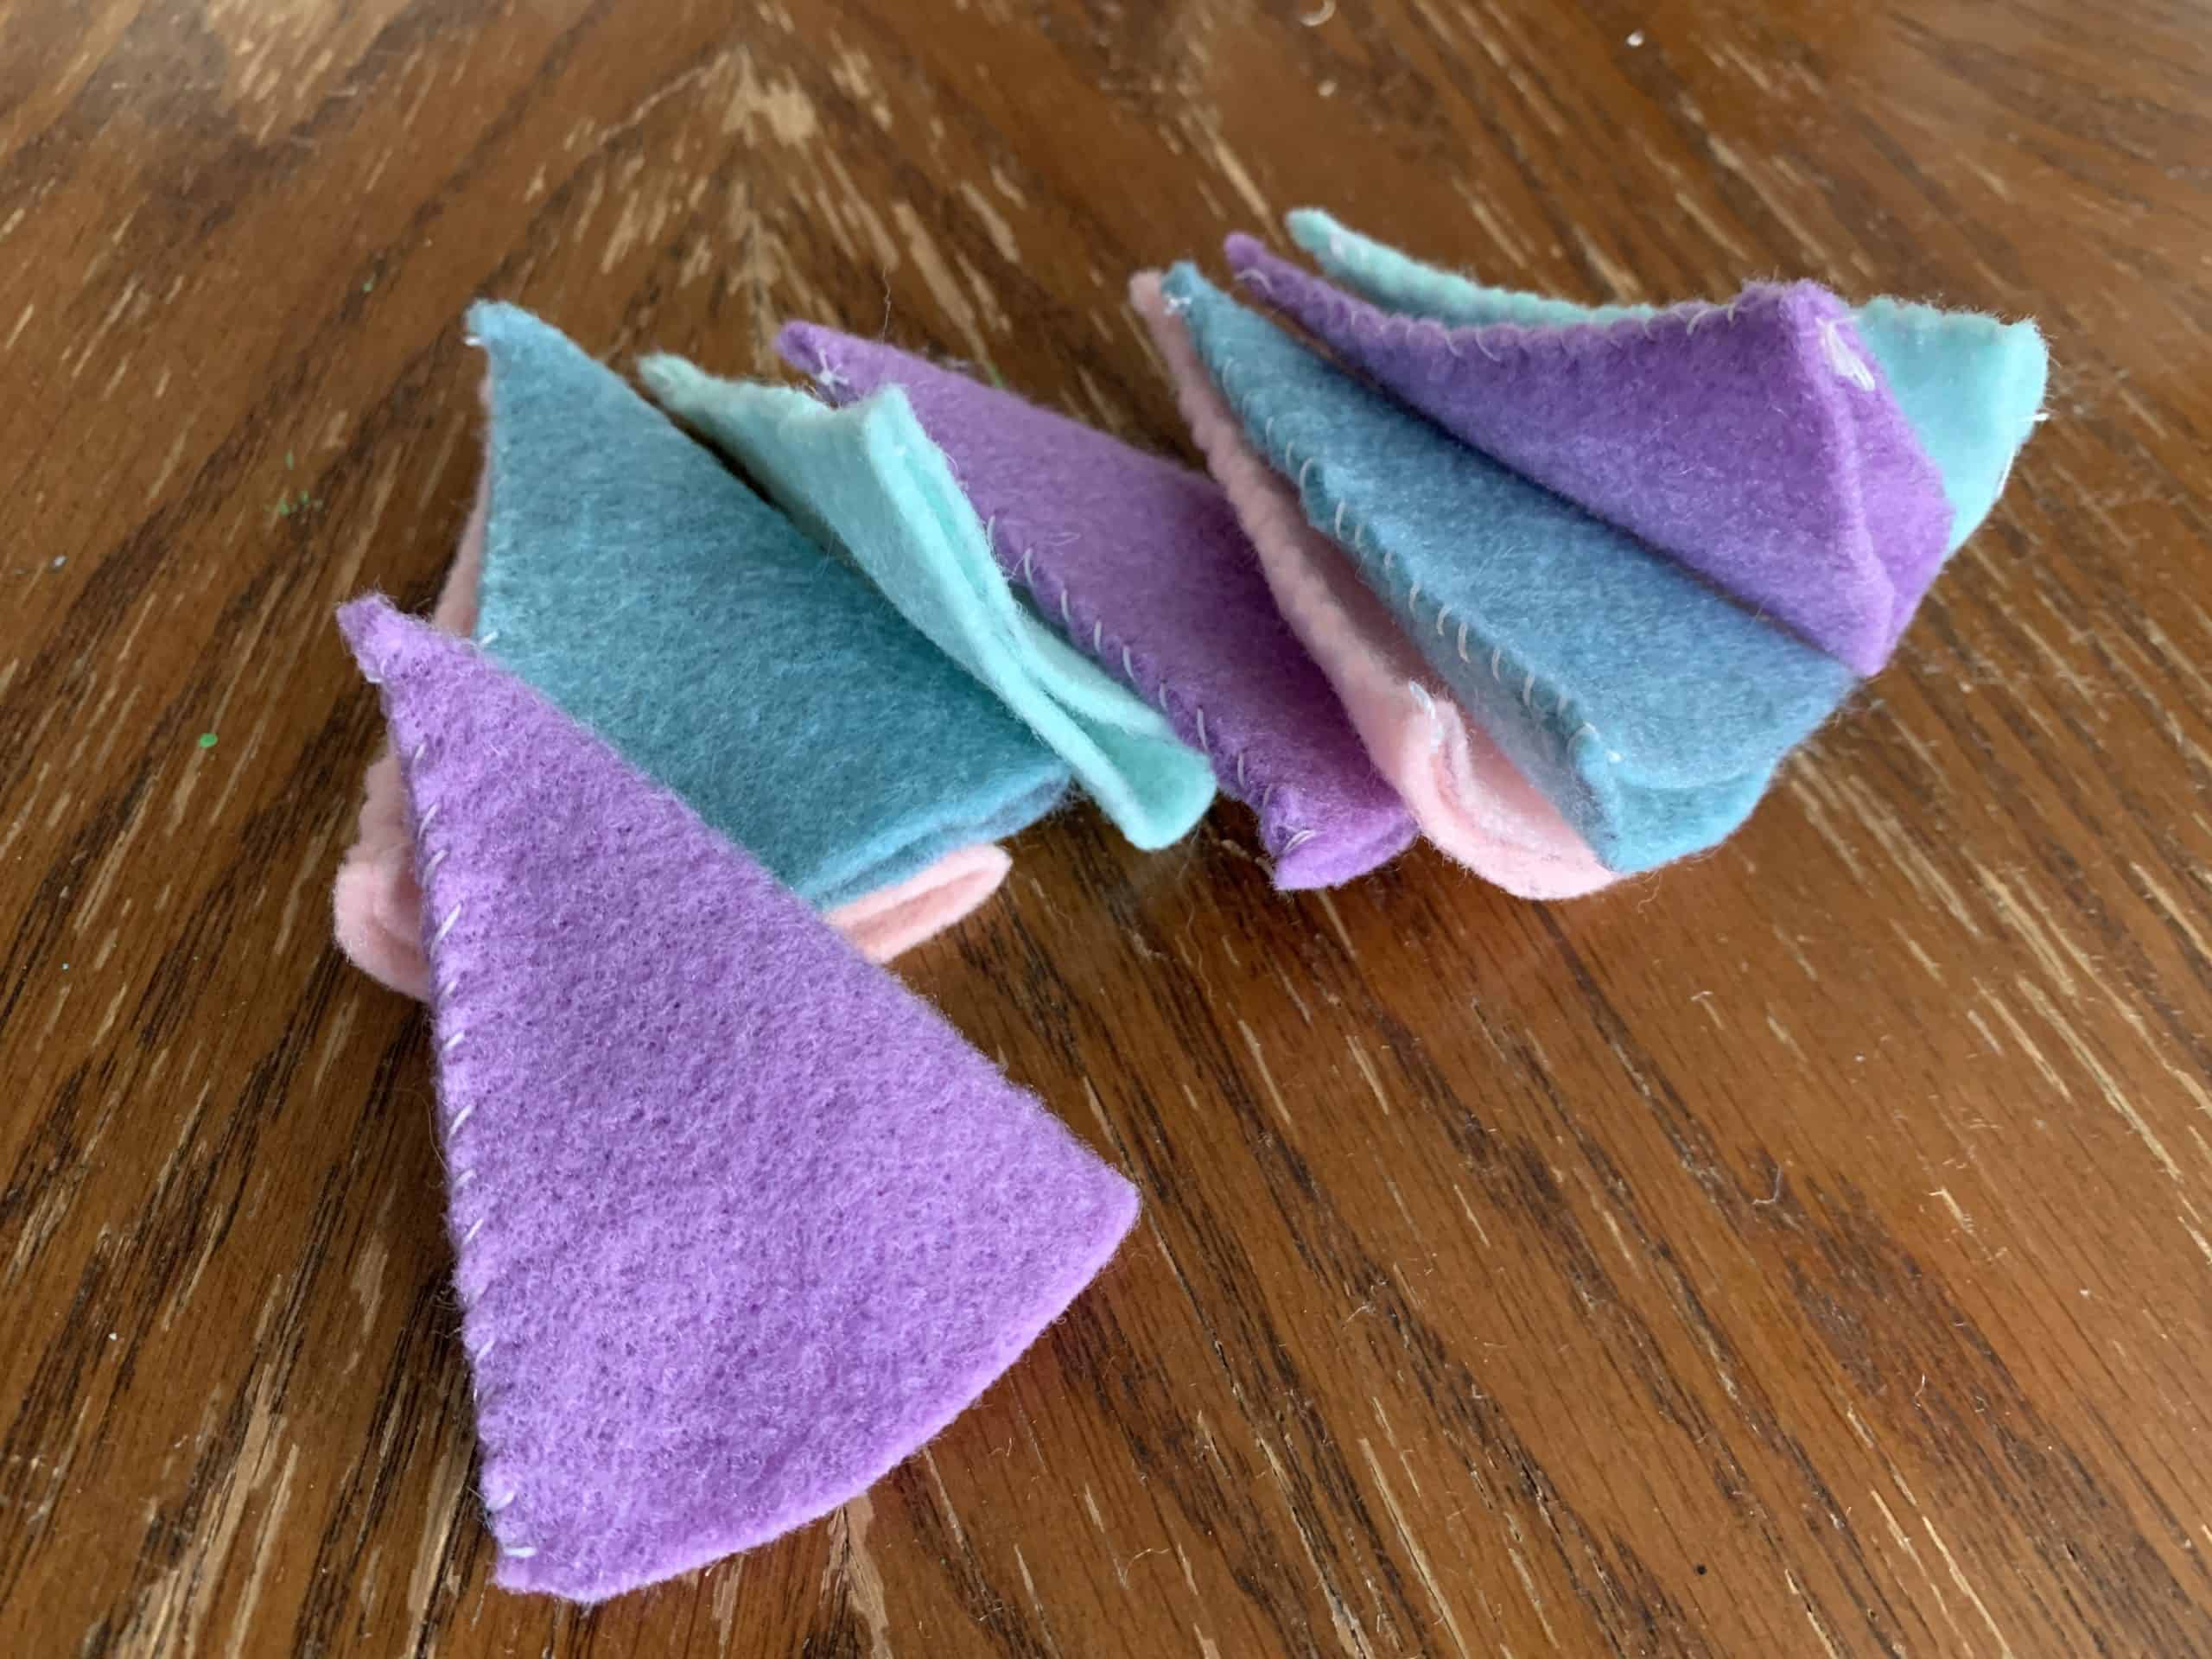
Taking the flat sides together, roughly sew using a needle and thread. I used white thread. Once done, put aside.
Spring Gnome Garland DIY: Beard Prep
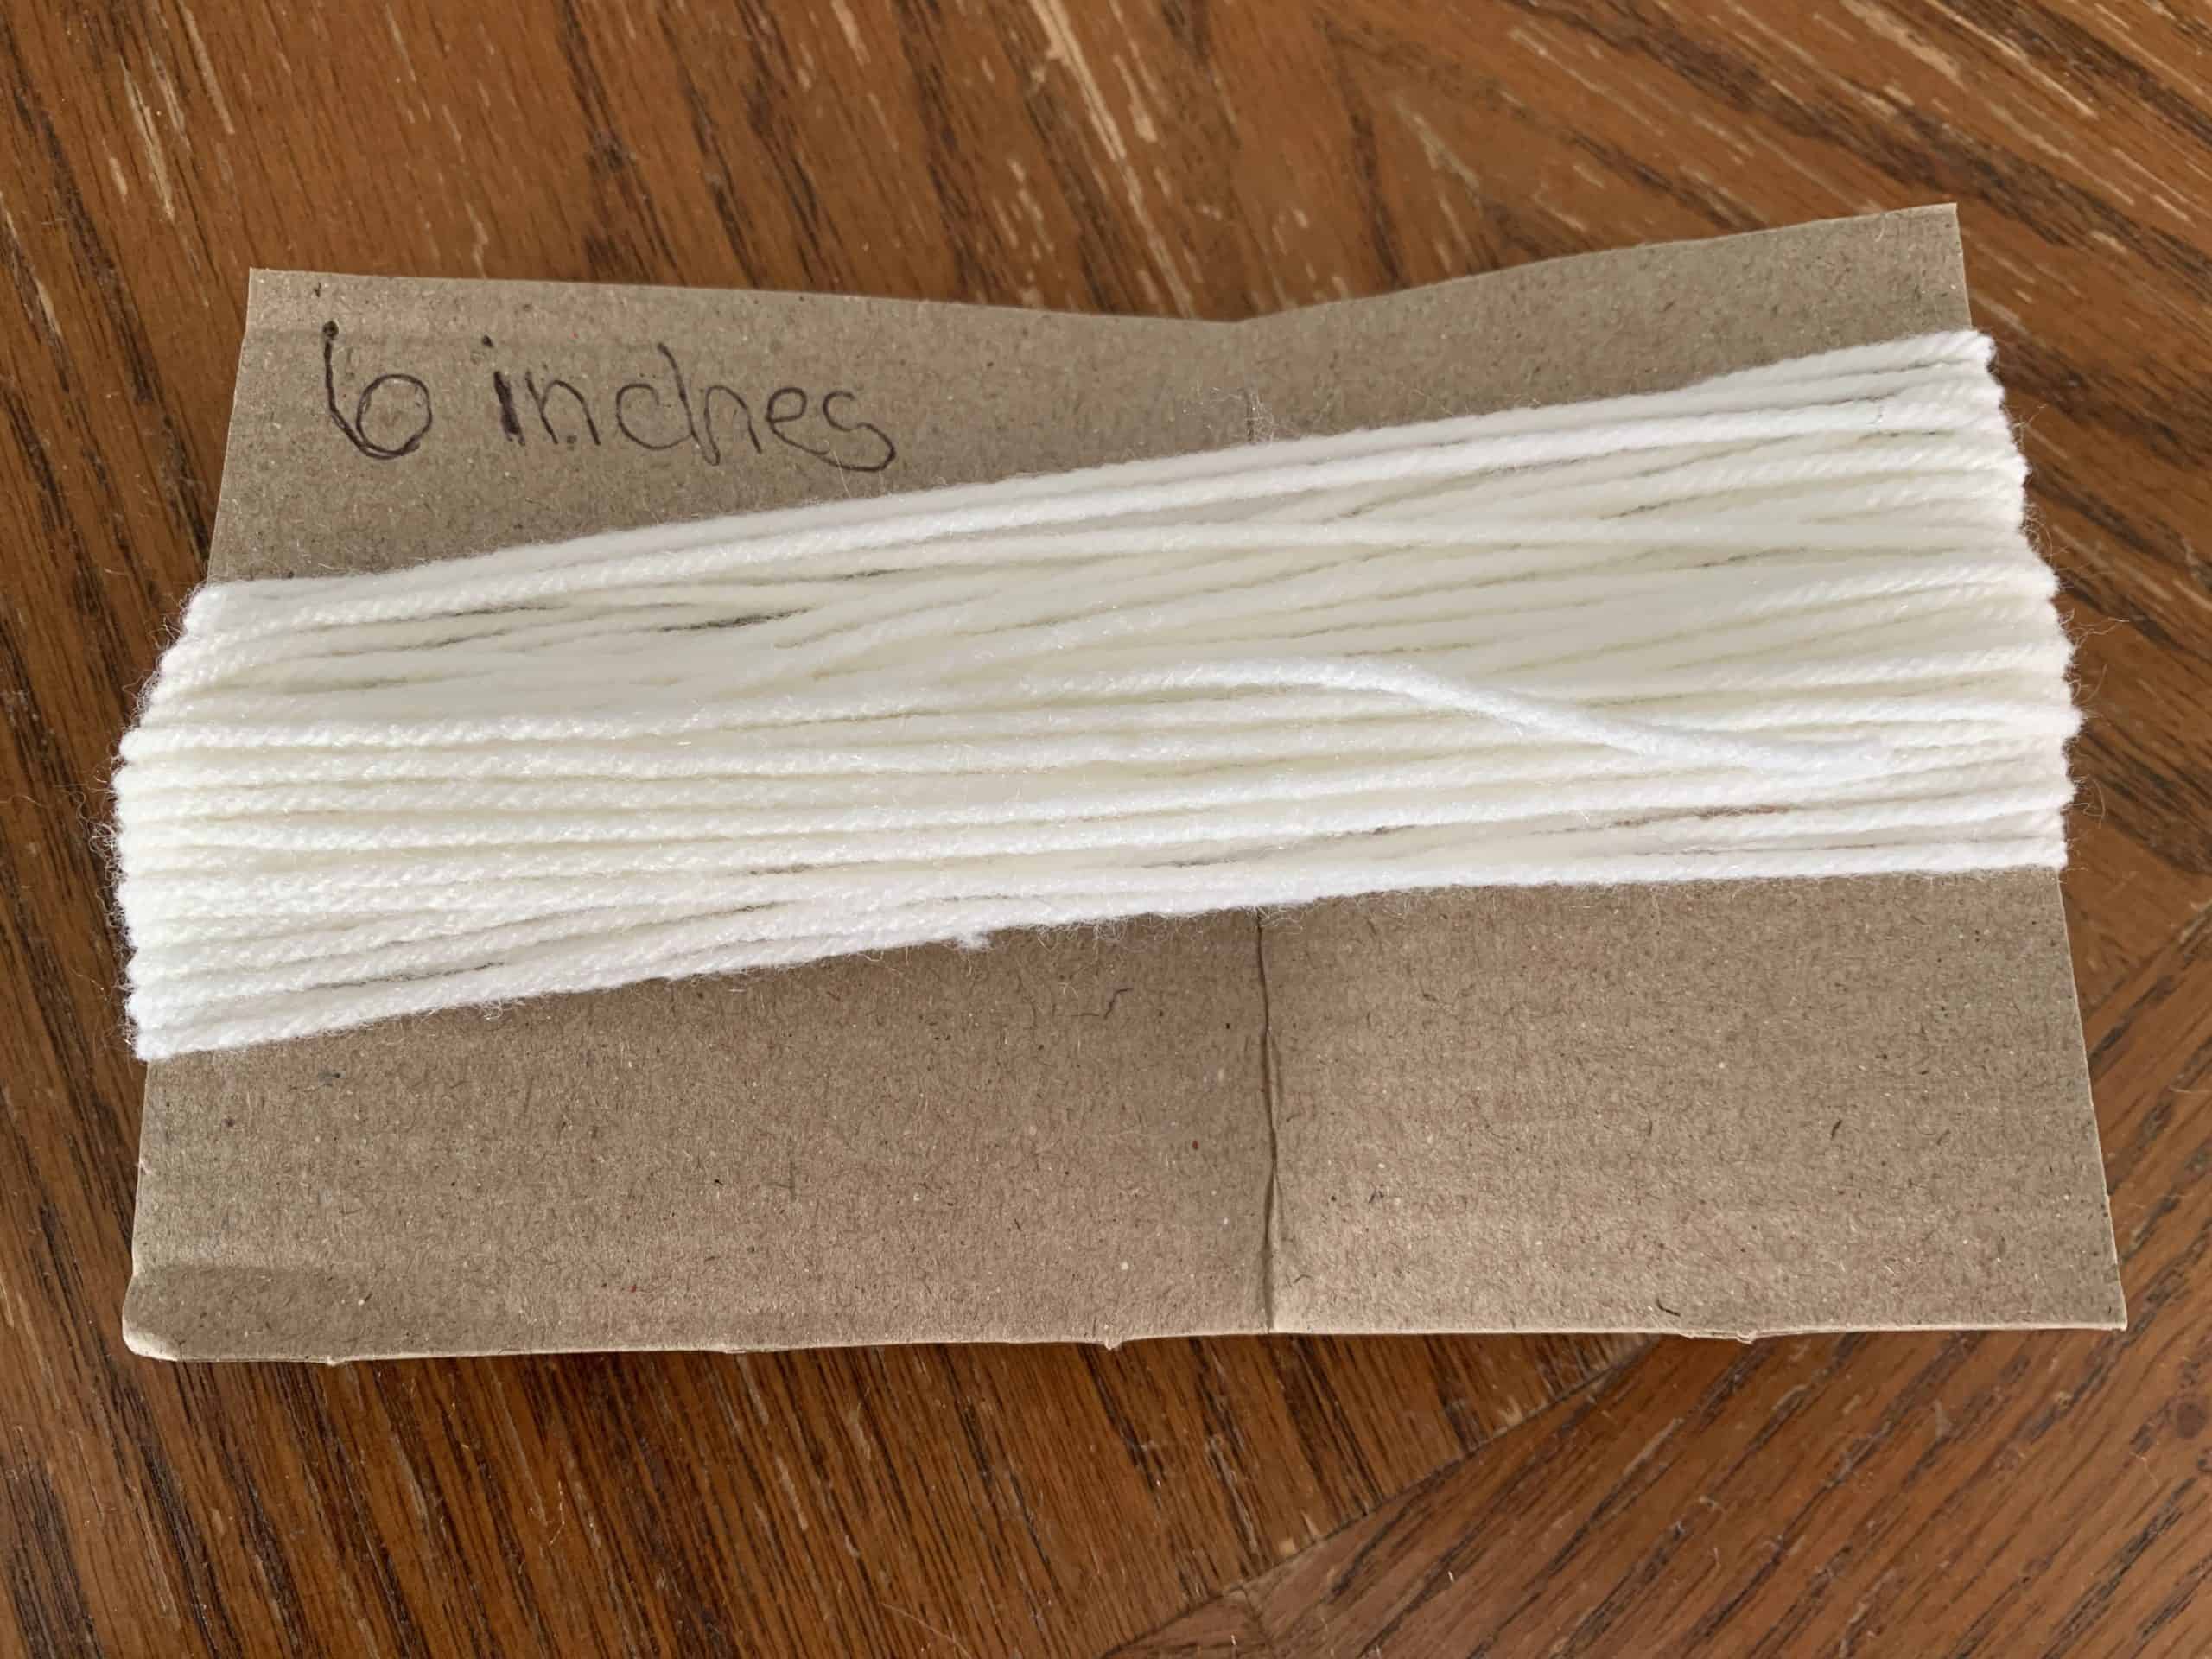
Using the 2 by 6 cardboard piece, wrap the yard around it 50 times for each gnome. My garland has 9 gnomes so I did it 9 times.
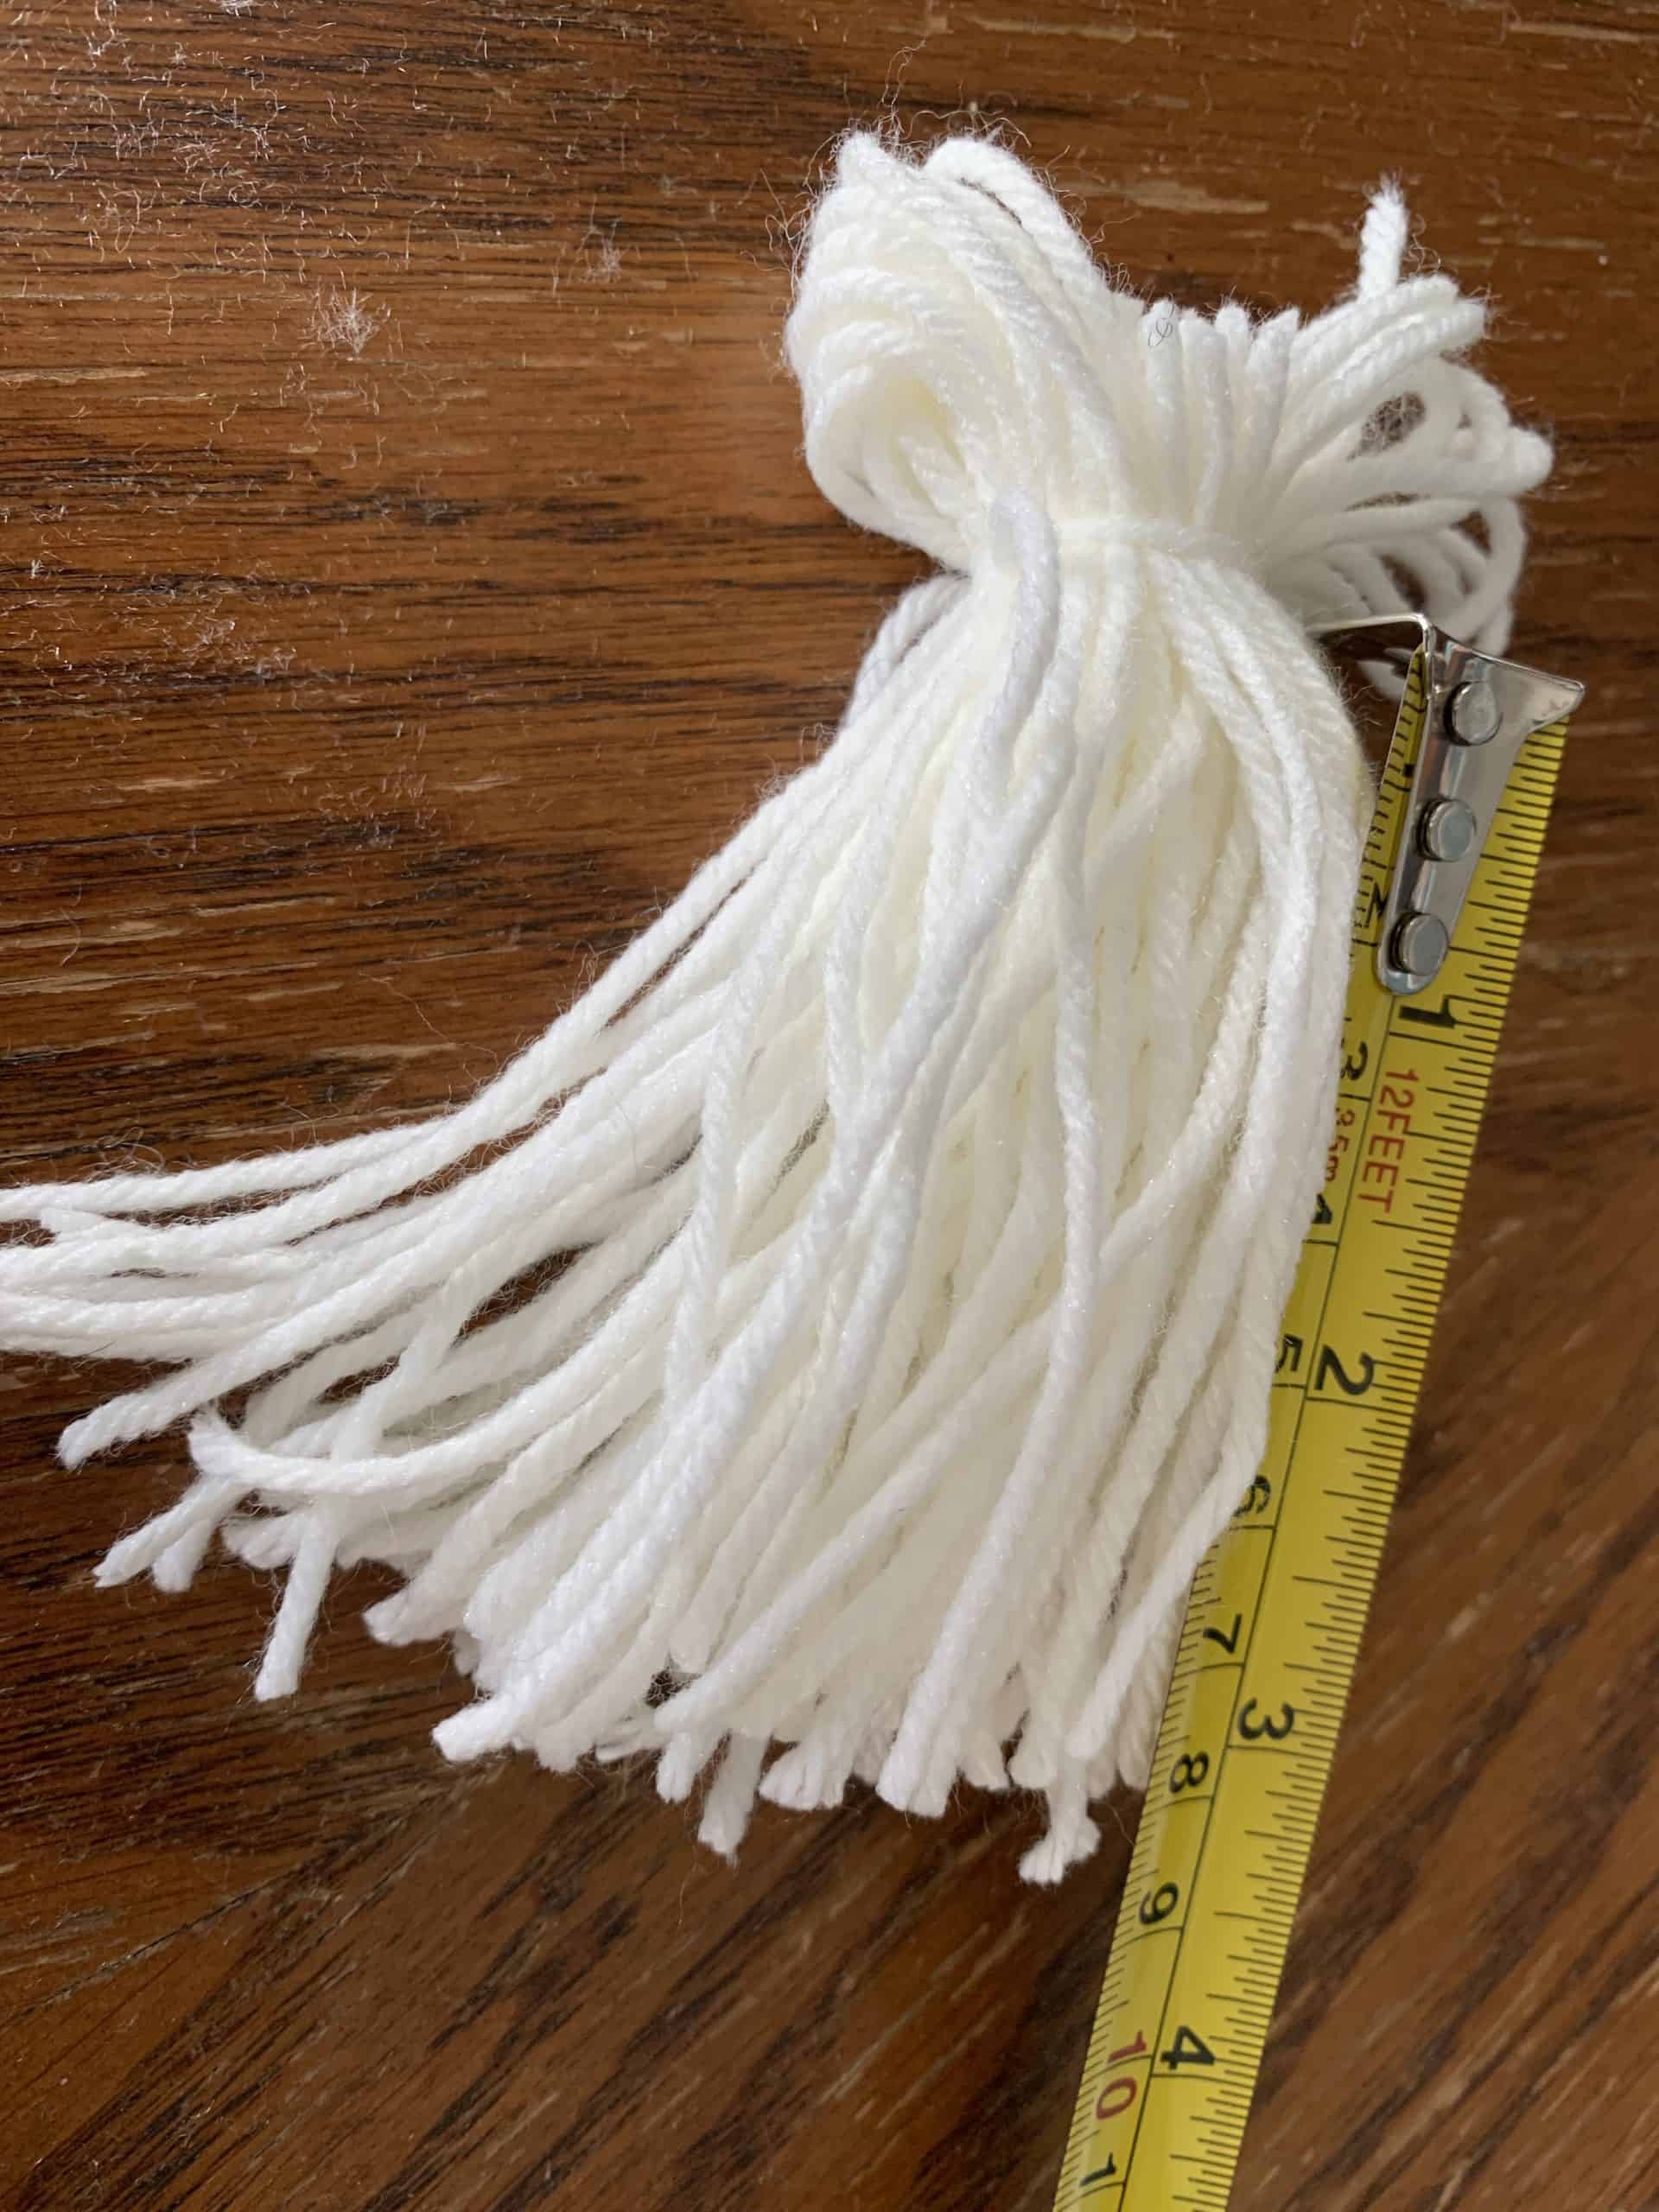
Gently take the wrapped yarn off the cardboard and, using a three inch piece of yarn, tie one of the ends an inch from the top. Next, leave a few loops on each side and cut the center to get rid of some of the bulk. This is the end you’ll be gluing inside the hat.
From the string, measure three inches down and cut the loops off. Once completed on all 9, I evened out the yarn.
Spring Gnome Garland DIY: Gluing Together
Please be careful for these next steps!
Making sure each hat’s seam is in the center back, run a thick bead of hot glue inside each about 1 inch from the bottom. Immediately insert the top of the yarn beard into the hat, pushing the loops completely in. Watch your fingers – hot glue can cause burns.
Once you have it how you like it, give a little squeeze on each hat to squish it flatter. allow to dry completely.
Spring Gnome Garland DIY: Adding the Flowers
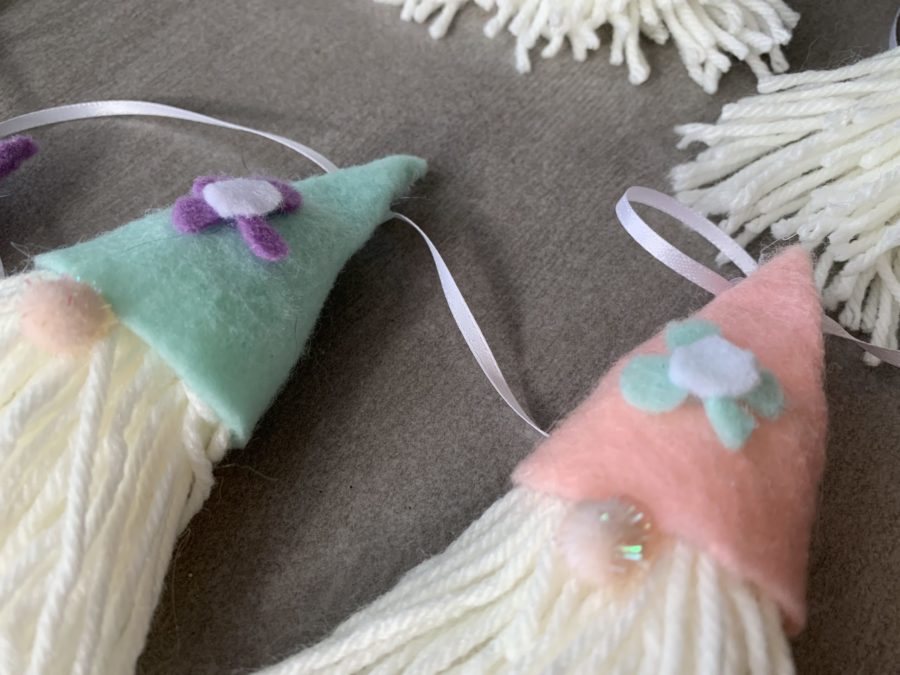
Using the colored scrap felt, cut out 4 small, teardrop-shaped petals for each gnome hat. You’ll also need to make 9 teeny white circles for the centers. Hot glue to hat.
Spring Gnome Garland DIY: Adding the Nose
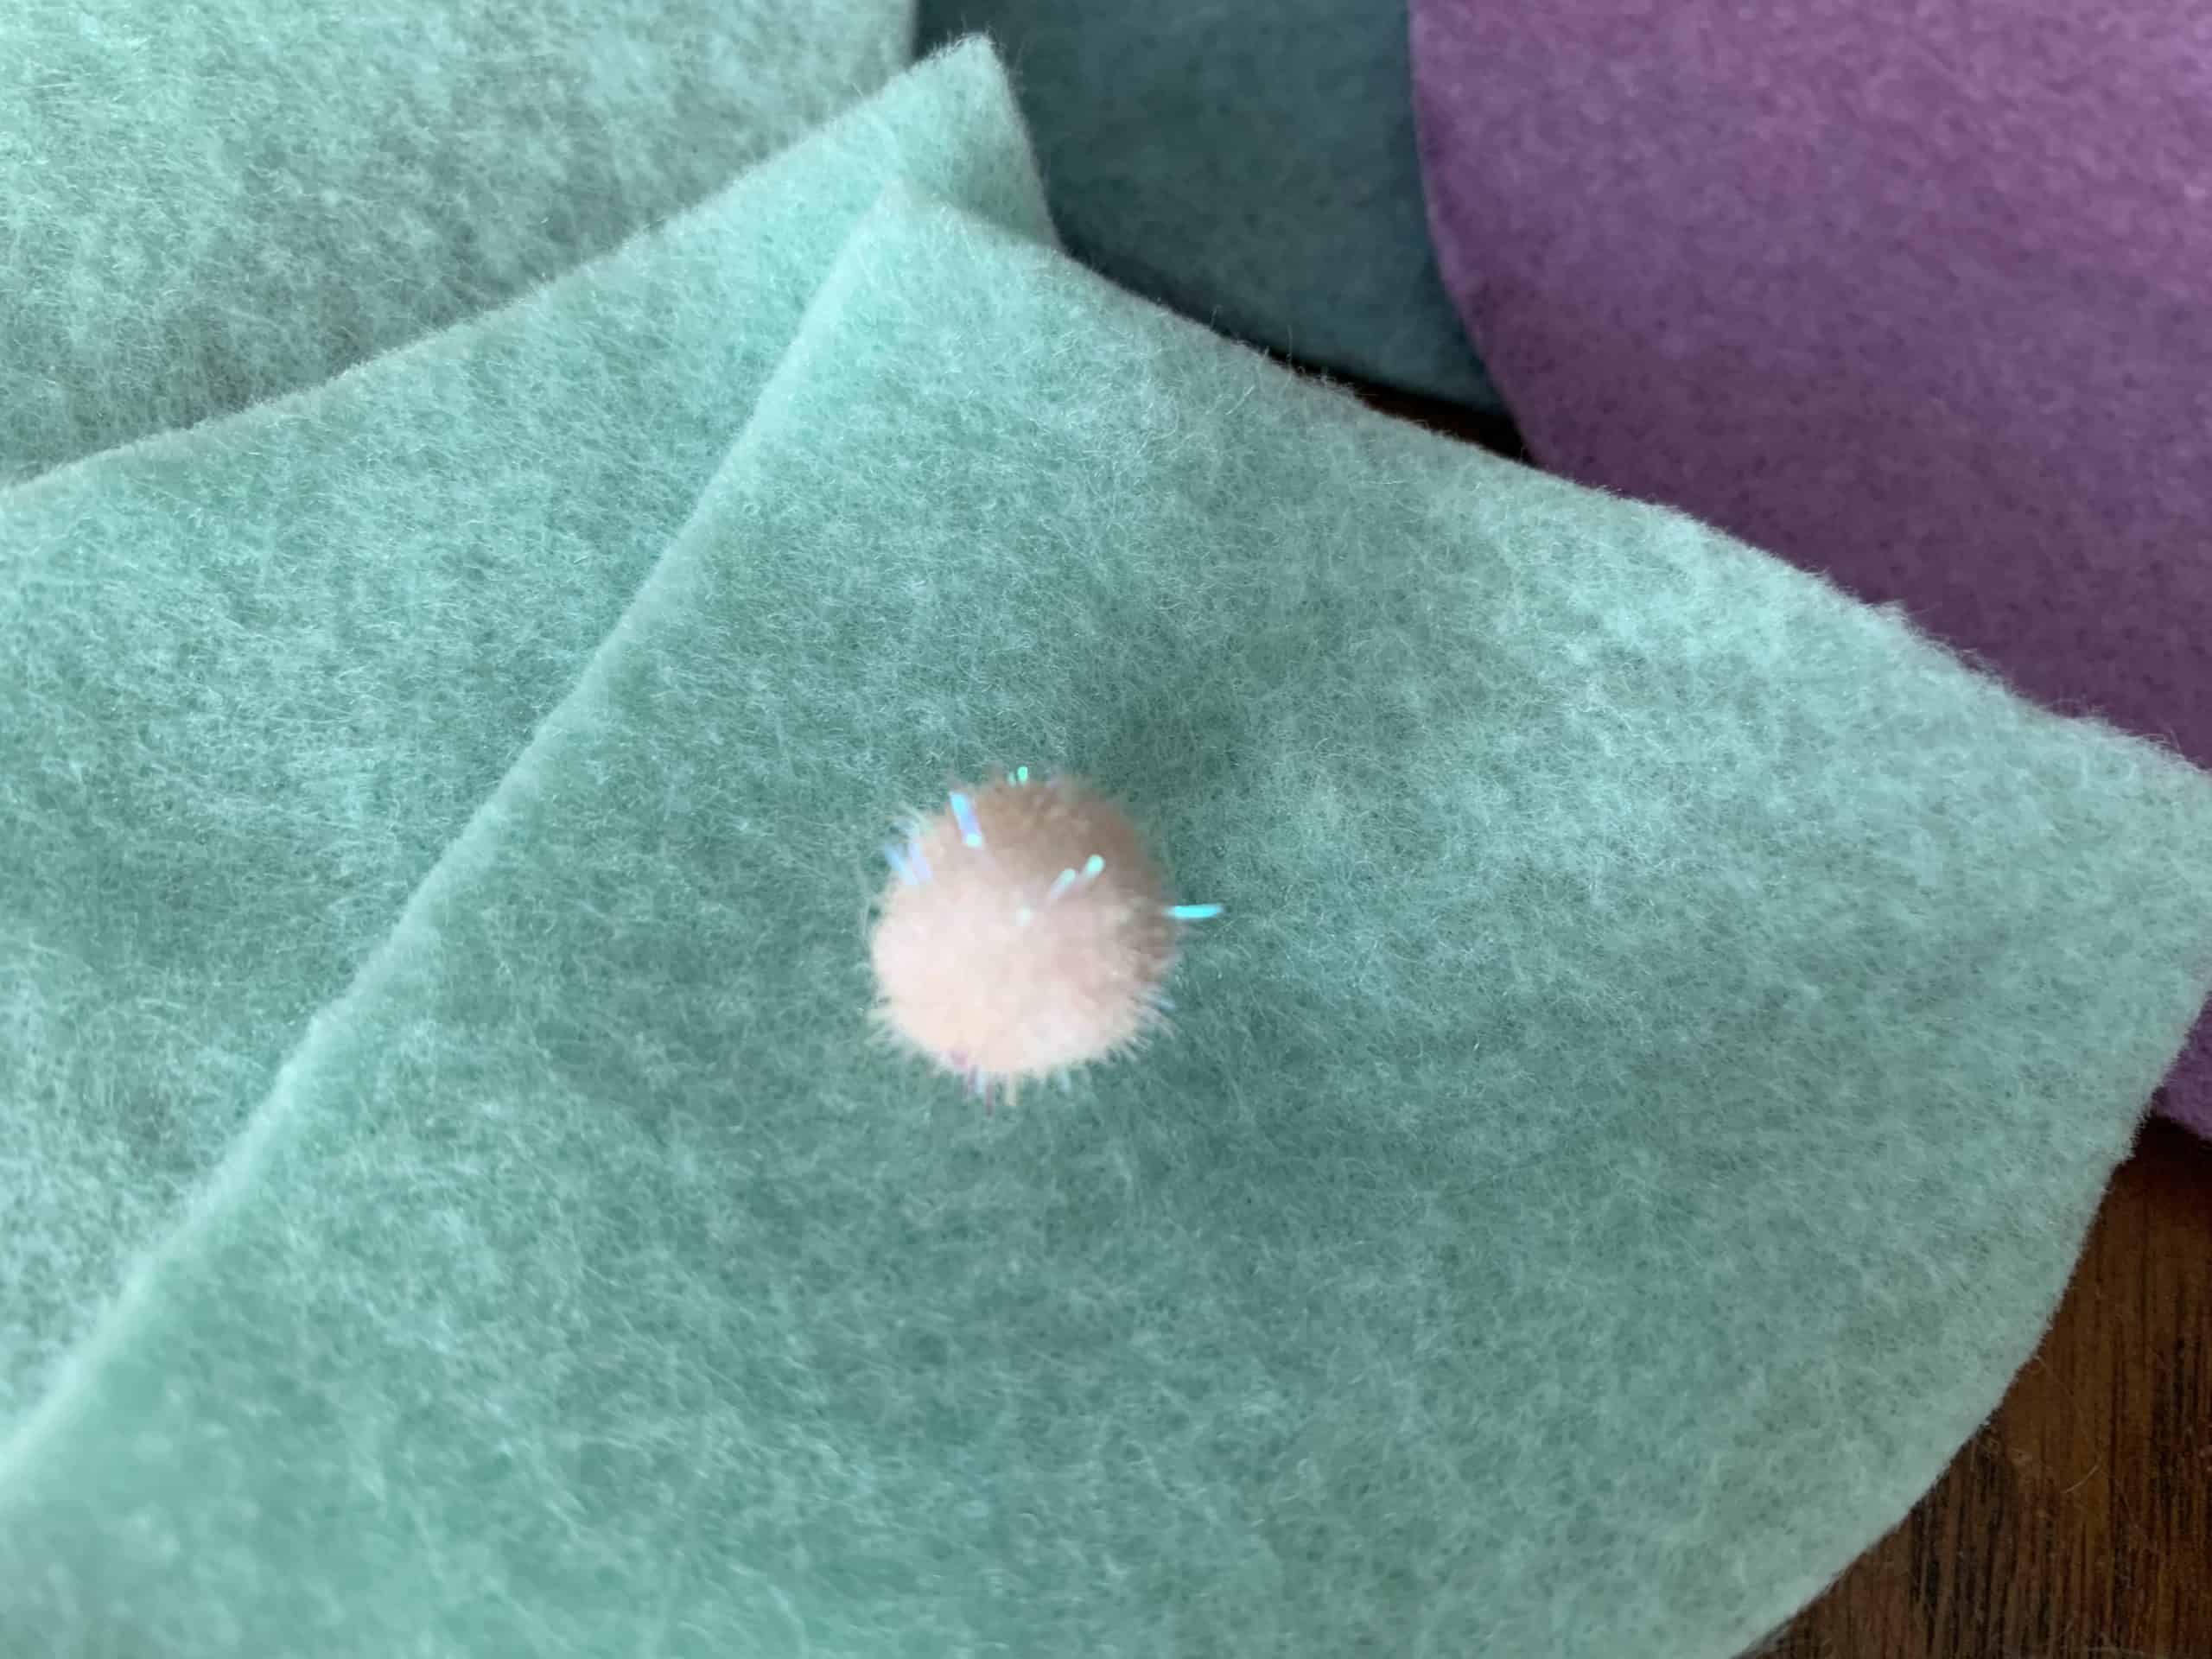
Again, you’ll need 9 small, flesh-colored craft balls for the noses. If you’re having a hard time finding the right color, brush each lightly with tinted face powder. Works like a charm!
Glue each just below the center bottom hat.
Spring Gnome Garland DIY: Garland
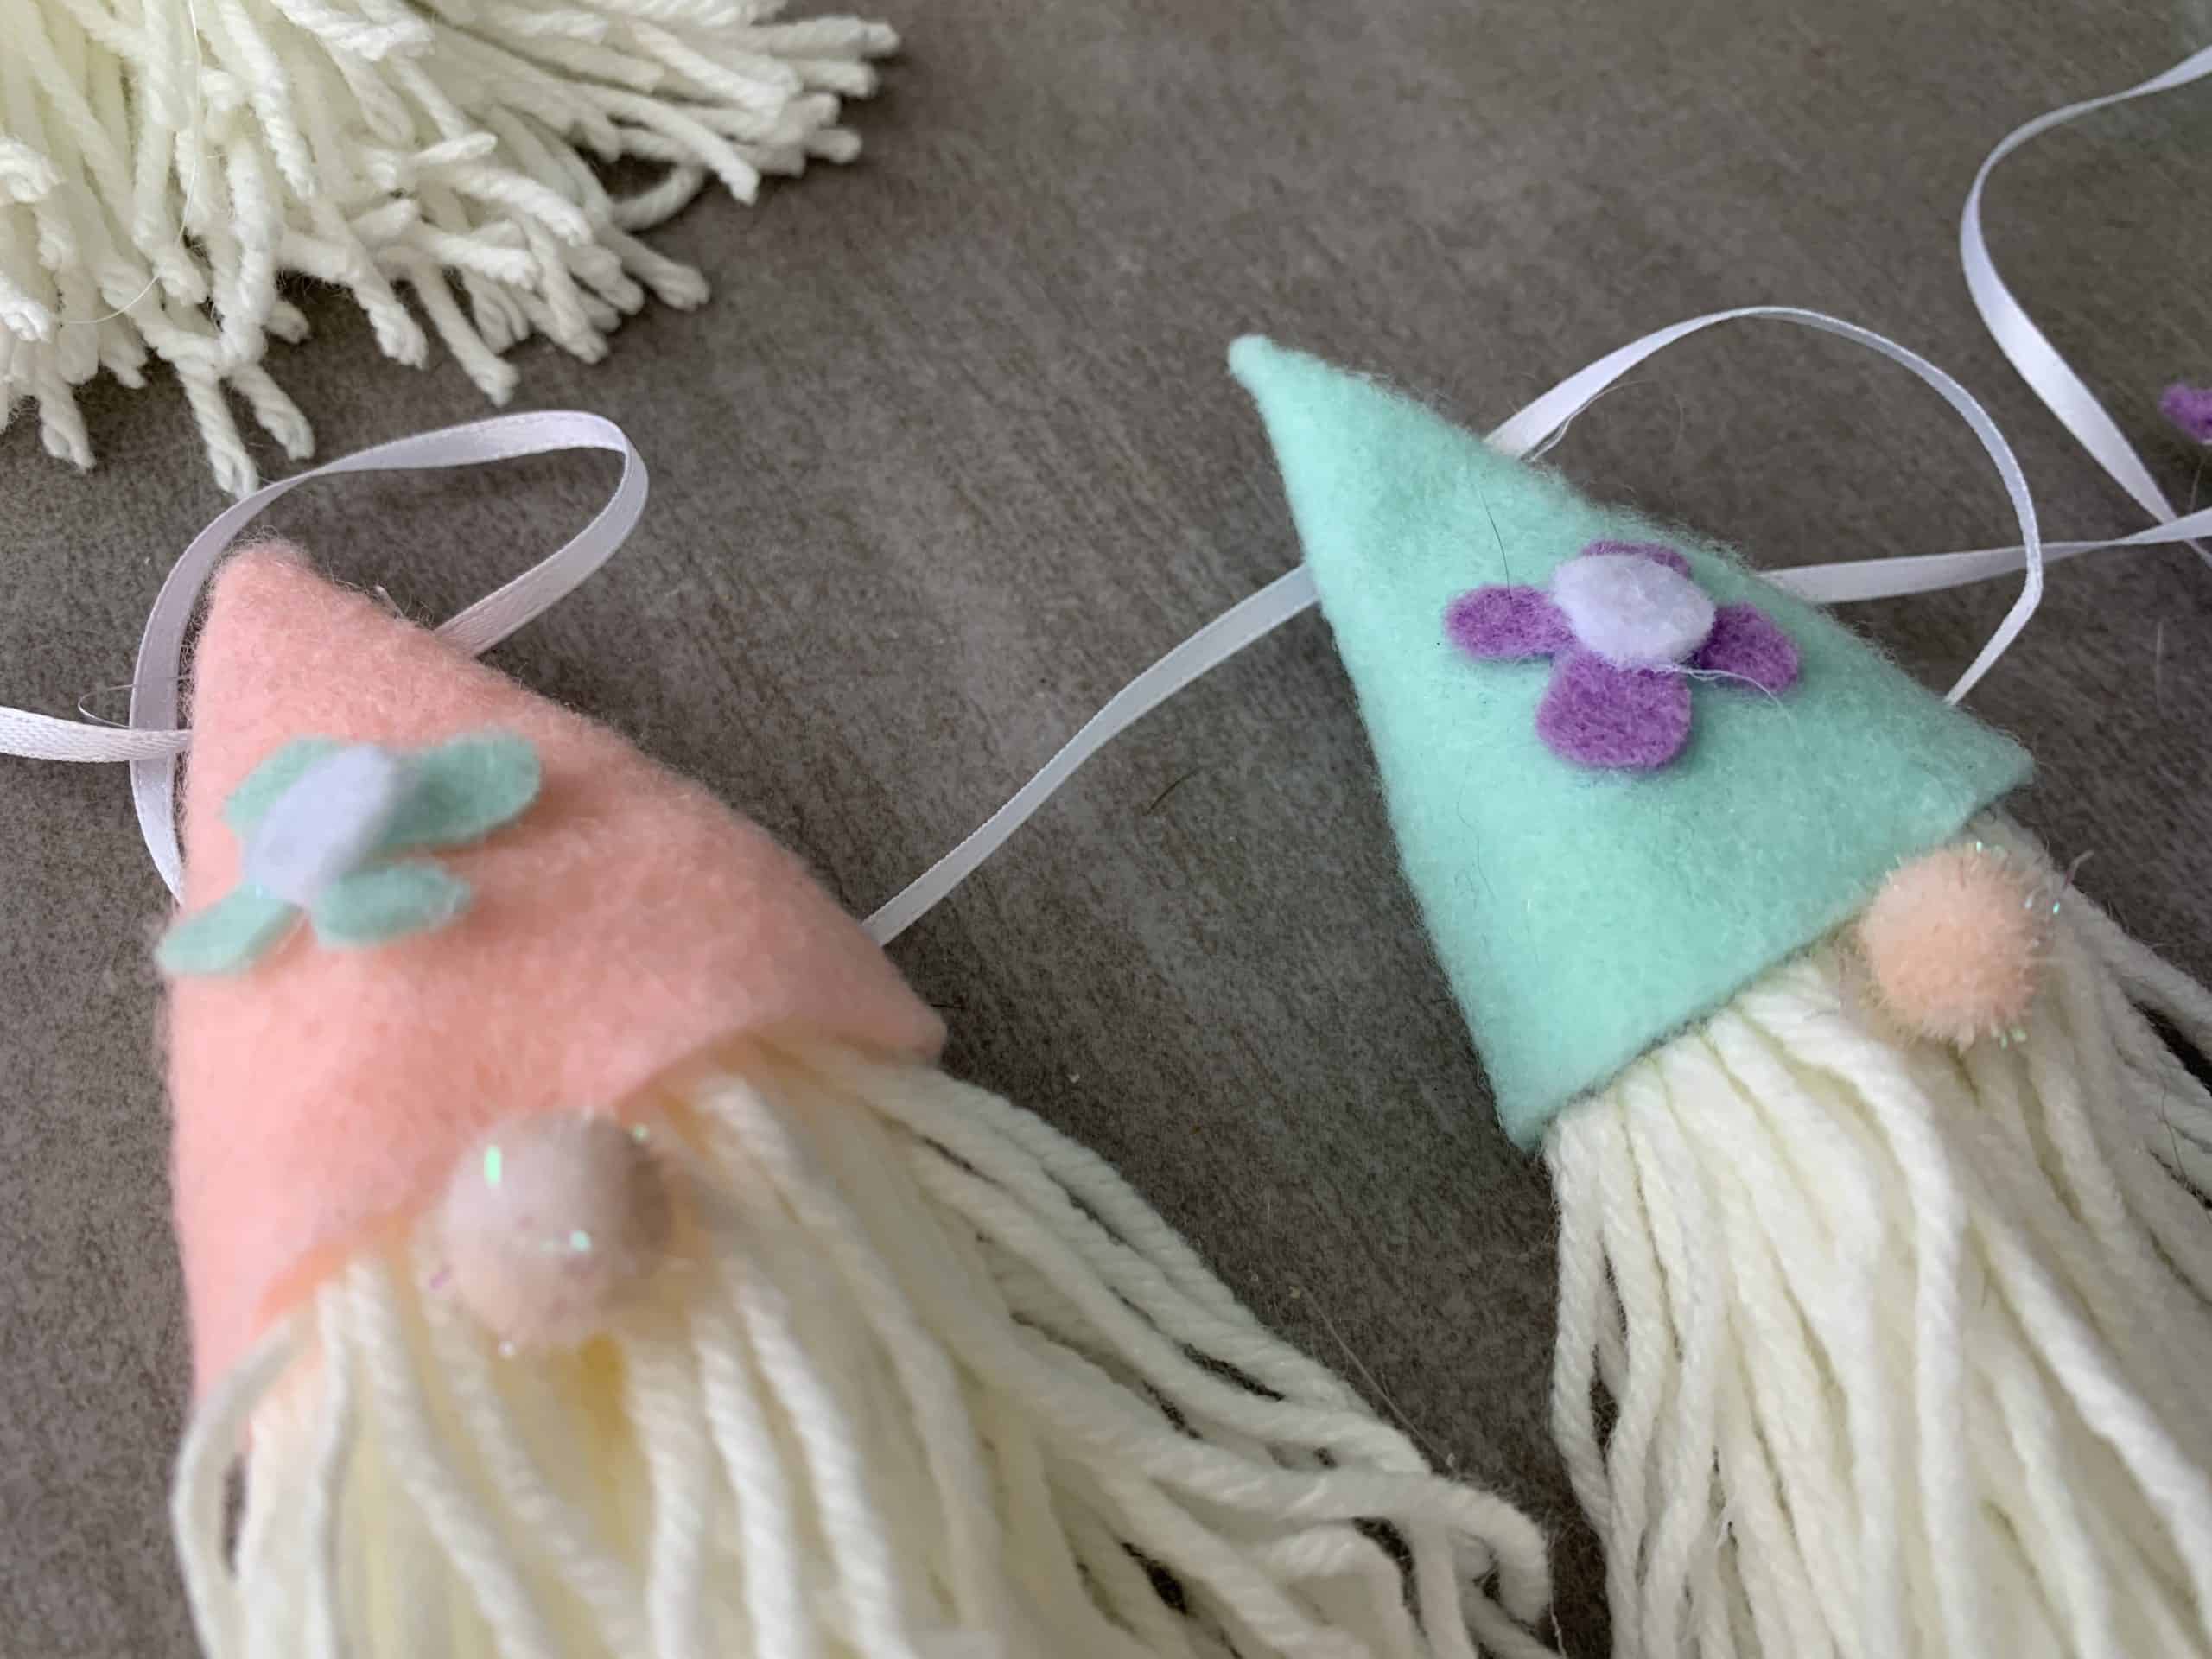
The one I made is 64 inches long not including the loops (70 inches). To get even spacing, I added a gnome in the exact center (32 inches from either side) and then, making marks with my pen every eight inches, it made my garland perfectly spaced. Hot glue in place. I actually waited for the first layer to dry and added another bead for extra security.
Make a loop on either end using the remaining ribbon and hang.

Leave a Reply